The Course
Discover Golf in the Foothills

Hole 1
Your round begins with a dogleg left par 4 along the Elbow River. A solid tee shot is required to get a clear look at a generous green. Drives that get too close to the corner may be blocked out by the trees.
Details
Par 4
408
368
447
382
282
Hole 2
The first par 5 of the day offers an opportunity to jumpstart your round but proceed with caution. A long and precise drive over the right half of the fairway bunker will give a chance to reach the green in two but smart money will break this hole into three shots leaving a short iron to the green.
Details
Par 5
524
436
545
495
402
Hole 3
Straight but not straightforward. Find the fairway off the tee and you have a chance to score on this medium length par four. Take it too lightly and trees, sand and out of bounds are lurking nearby.
Details
Par 4
405
369
439
389
297

Hole 4
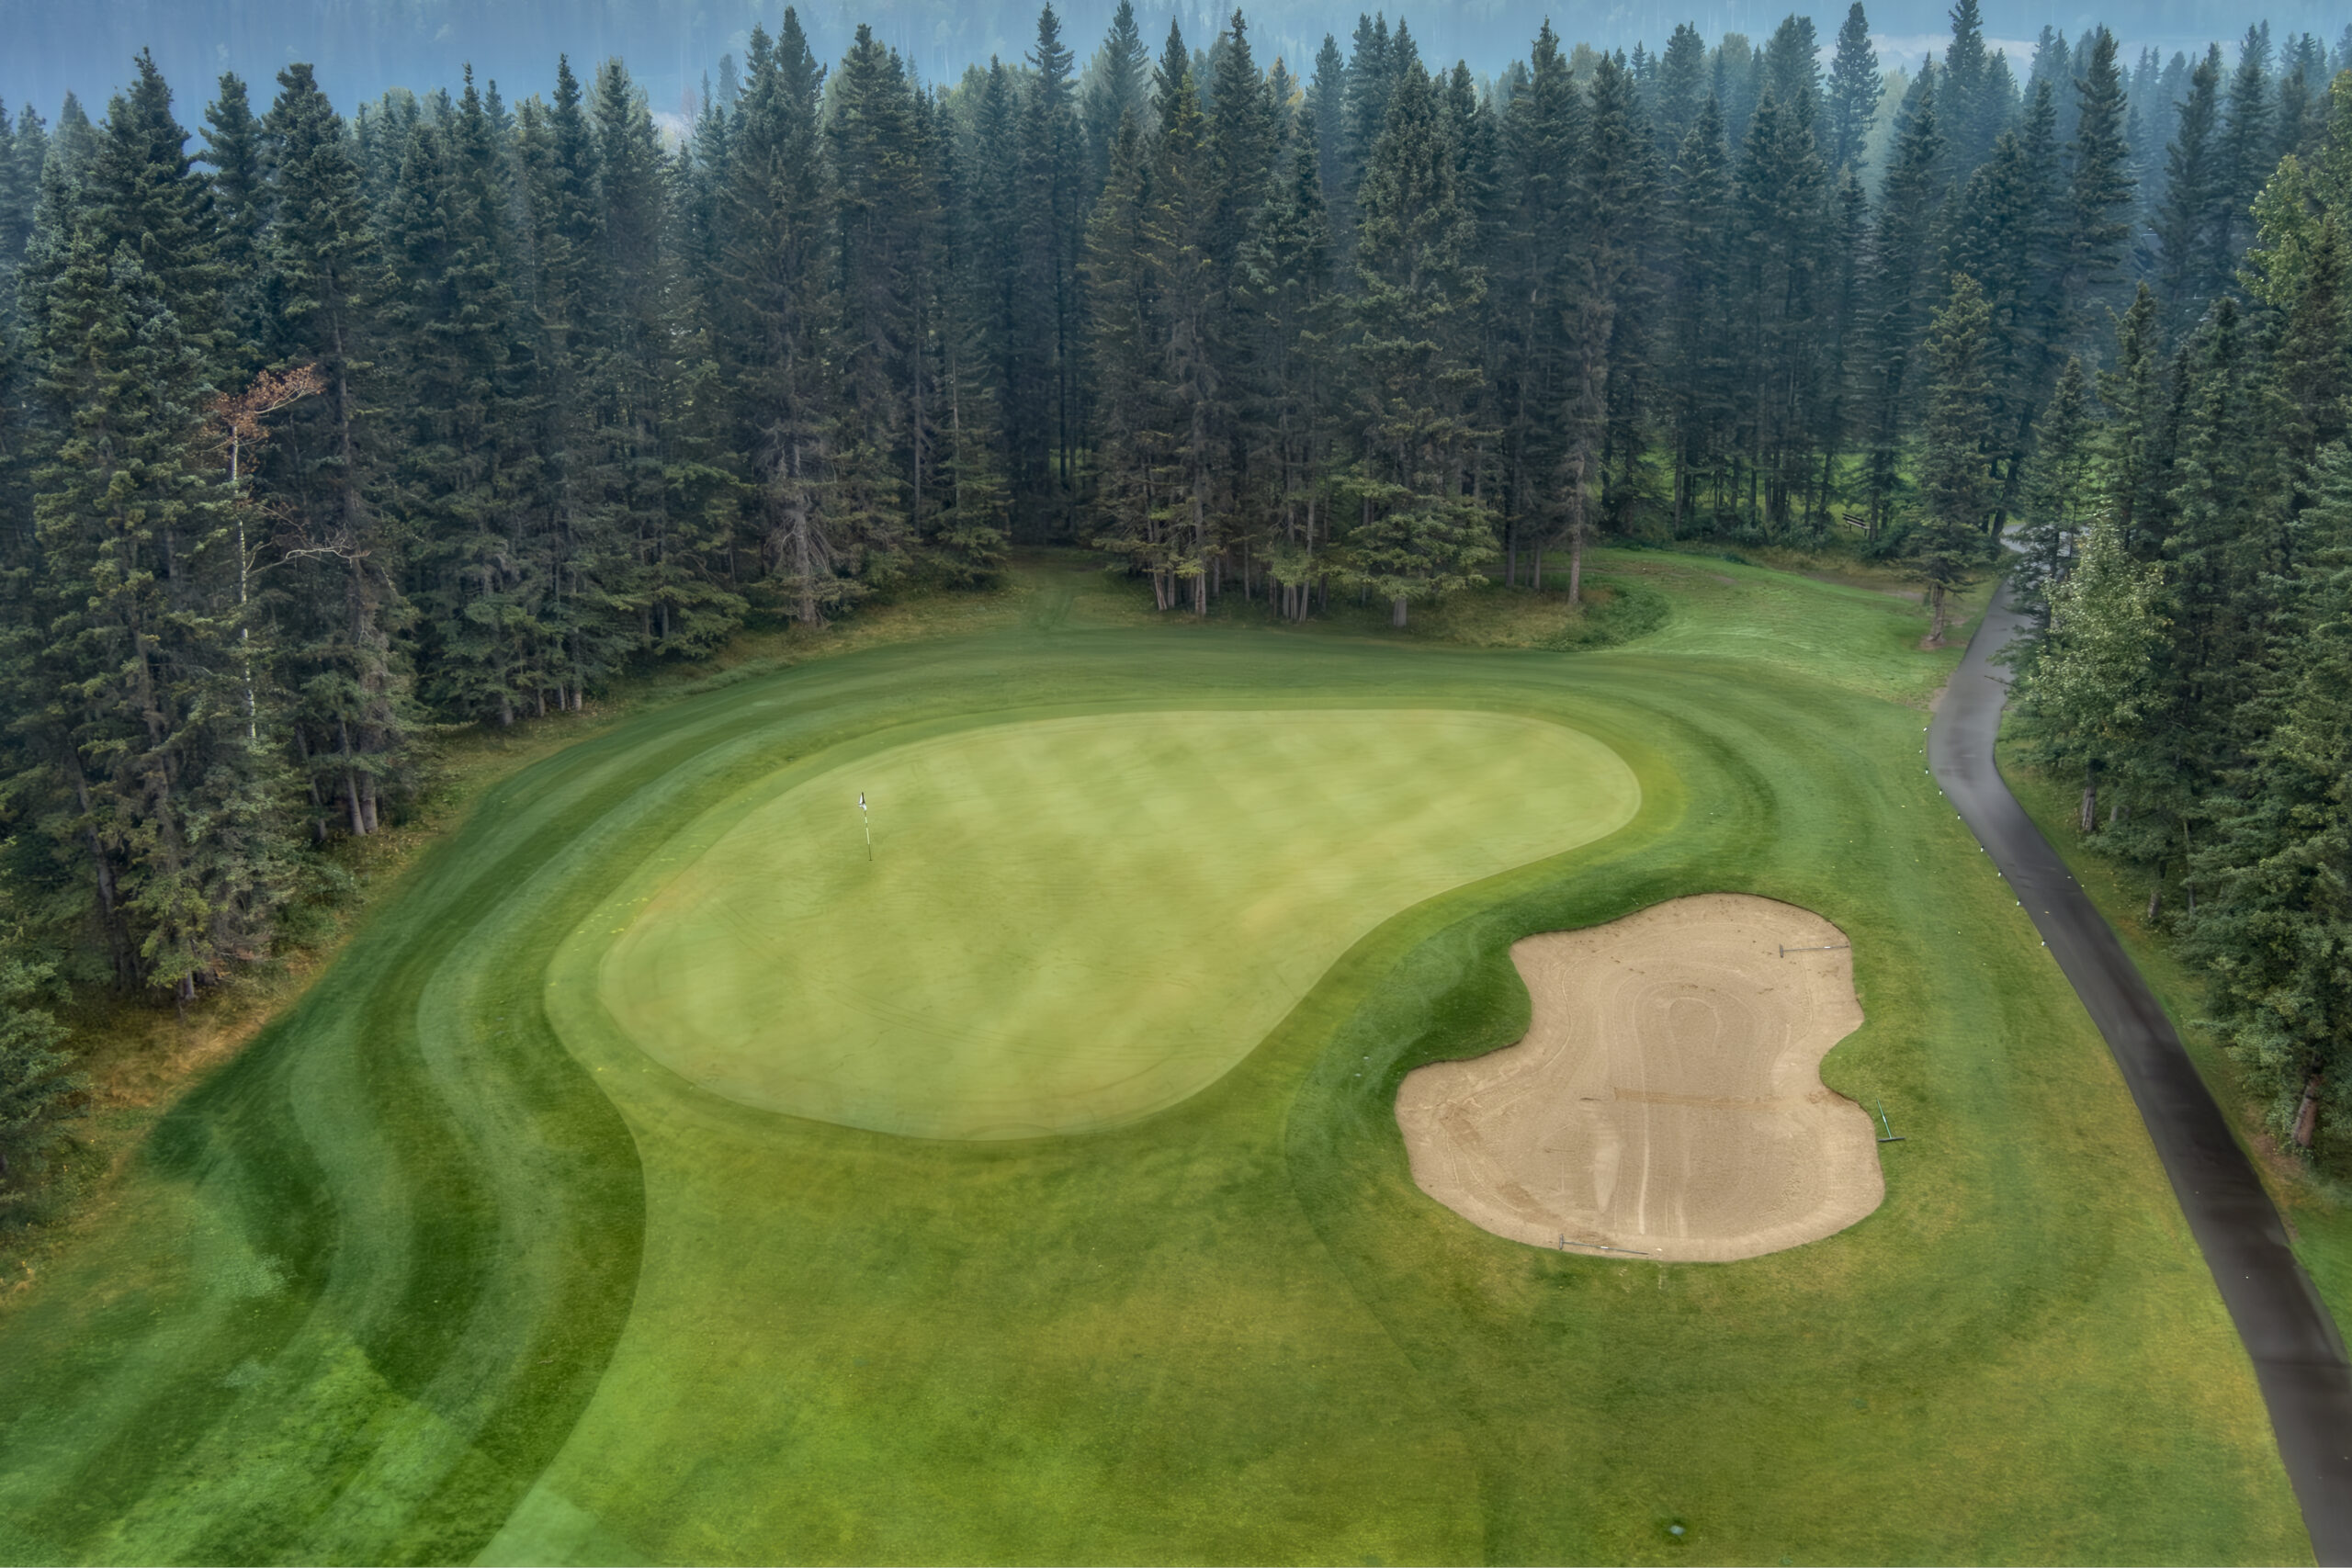
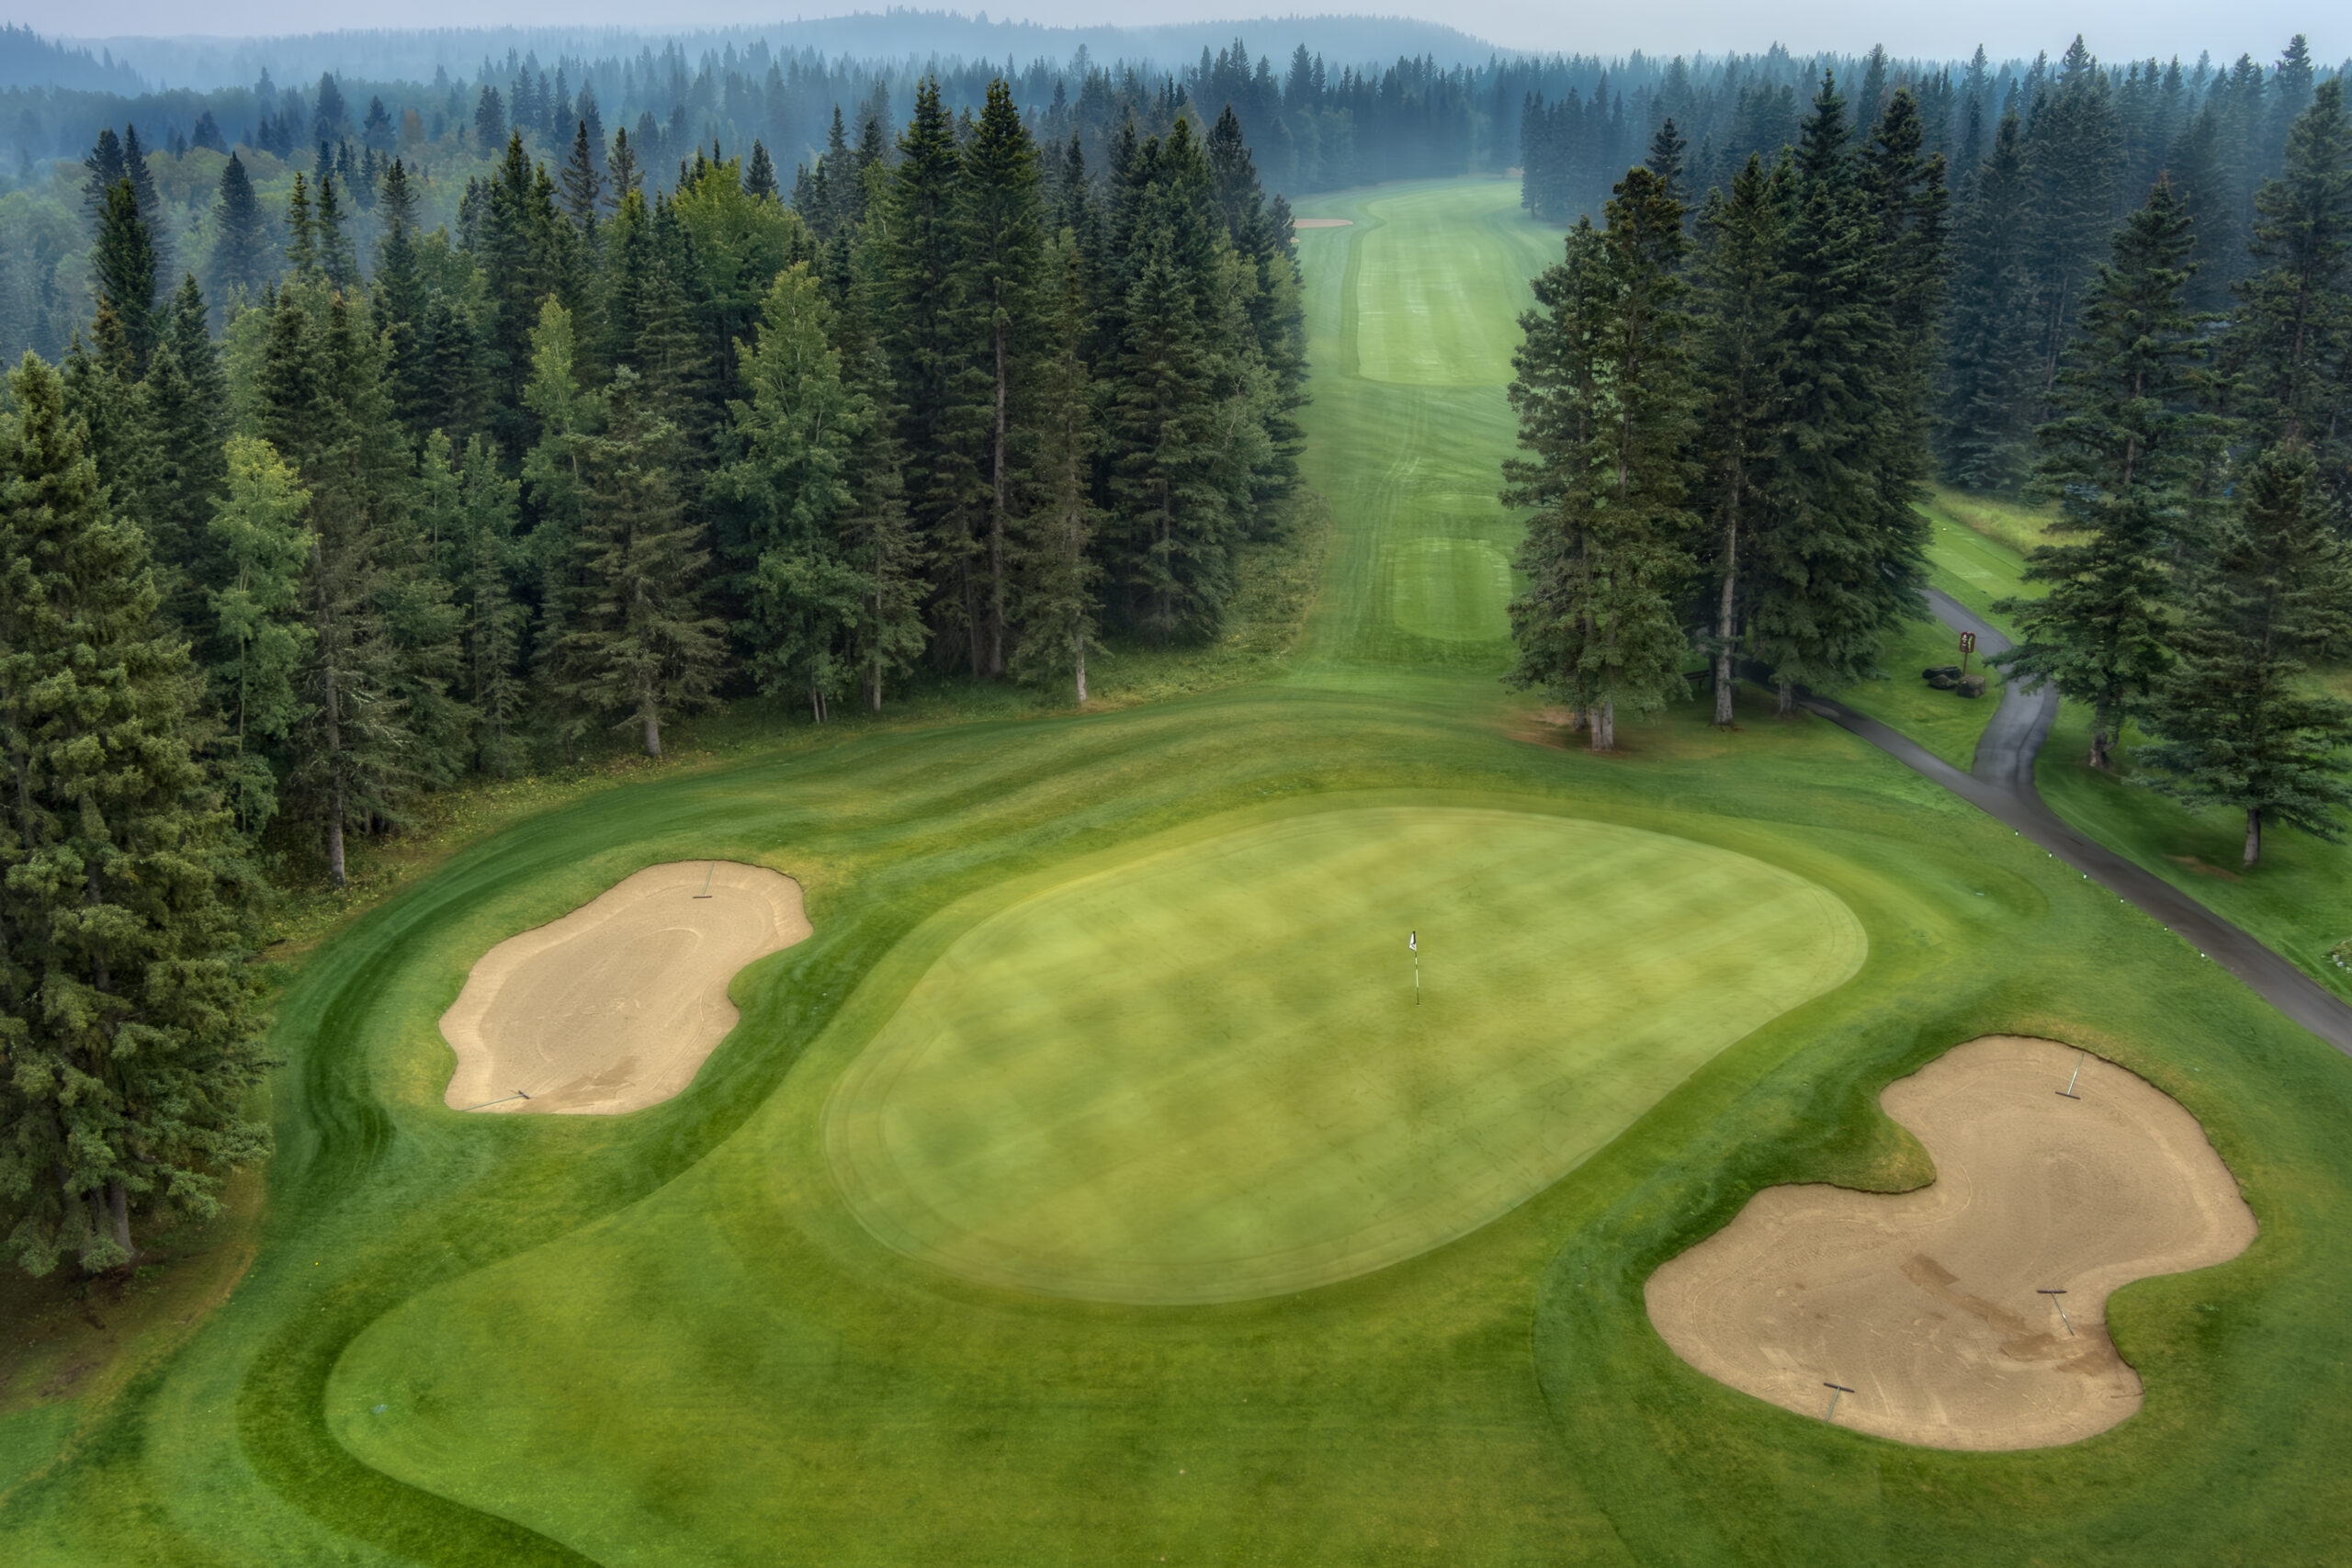
Our longest par three but the only one without water. Fly it on or run it up. A solid shot will give you a chance to chip and putt your way to a par.
Details
Par 3
182
162
206
171
101
Hole 5
This par four requires a draw or a smart club selection to find the fairway. Aim at the lone tree on the right side of the fairway and hope you don’t get stuck behind it. Cut the corner too close and the trees may bite you. There is more room to the right than it looks.
Details
Par 4
388
358
422
372
291

Hole 6
A strong drive favouring the left side of the fairway offers a chance to go for the green in two on this reachable par five. Buyer beware as the green is well protected by water on the left and out of bounds is on the right.
Details
Par 5
505
447
536
382
401
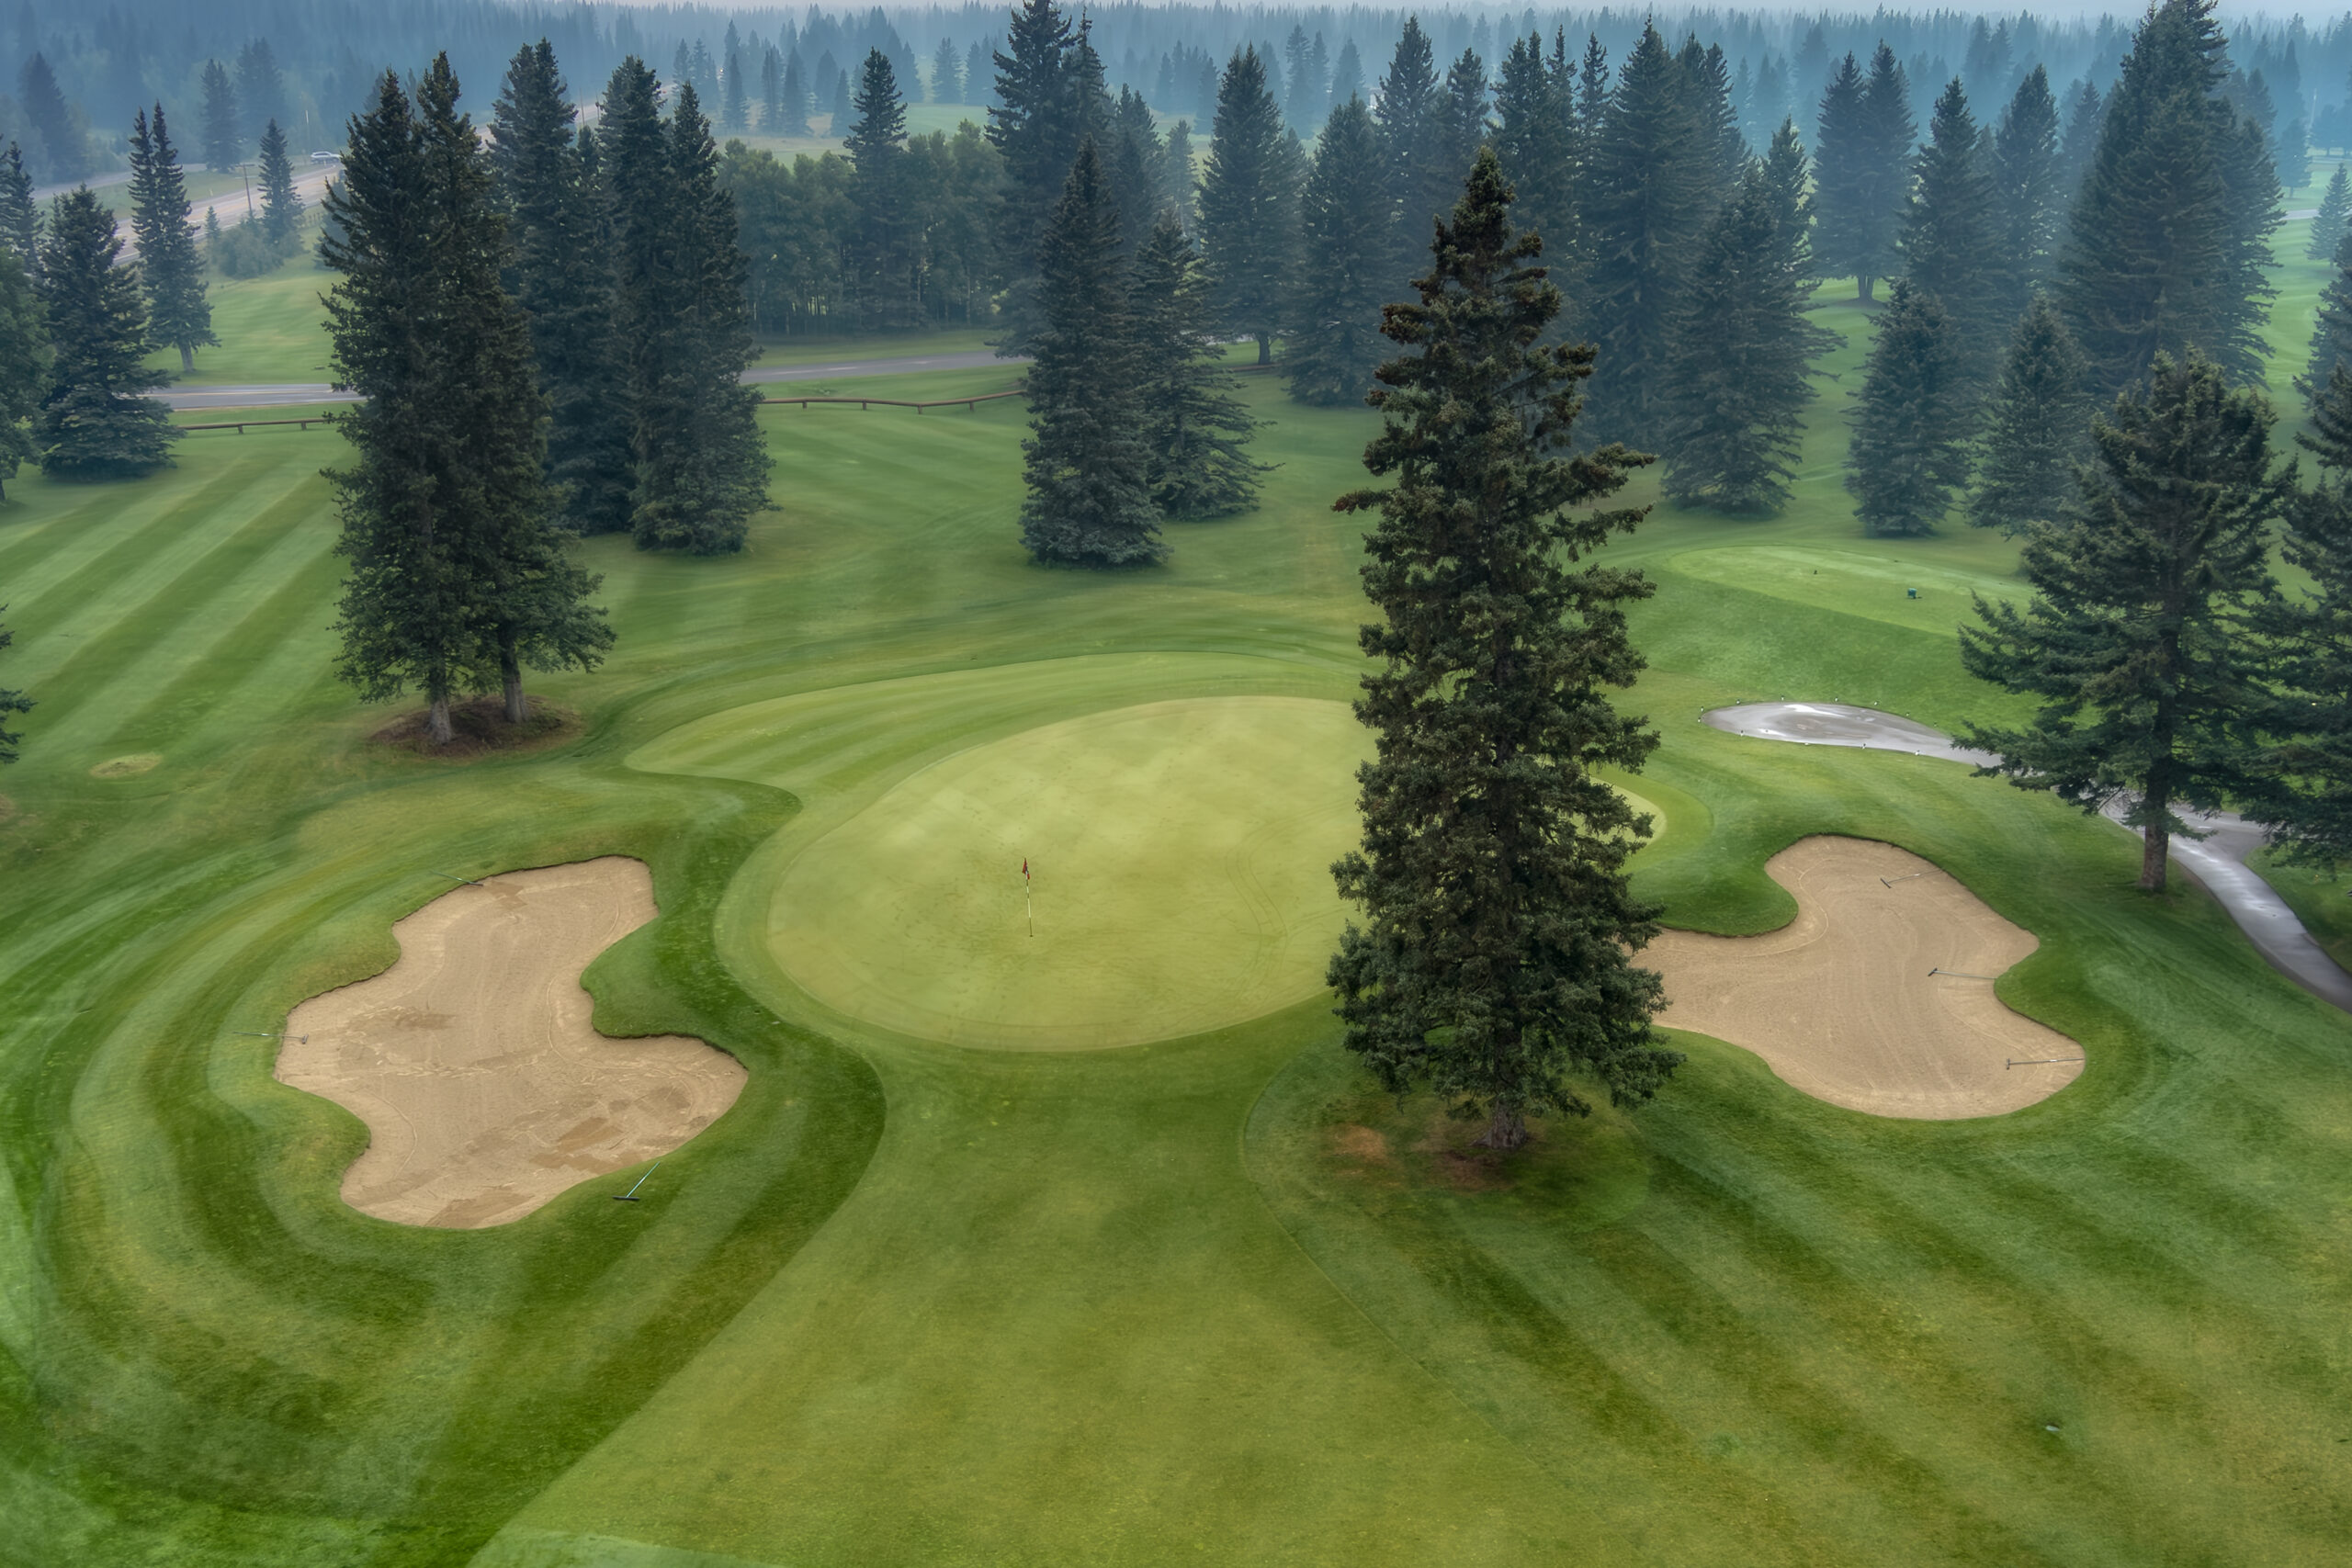
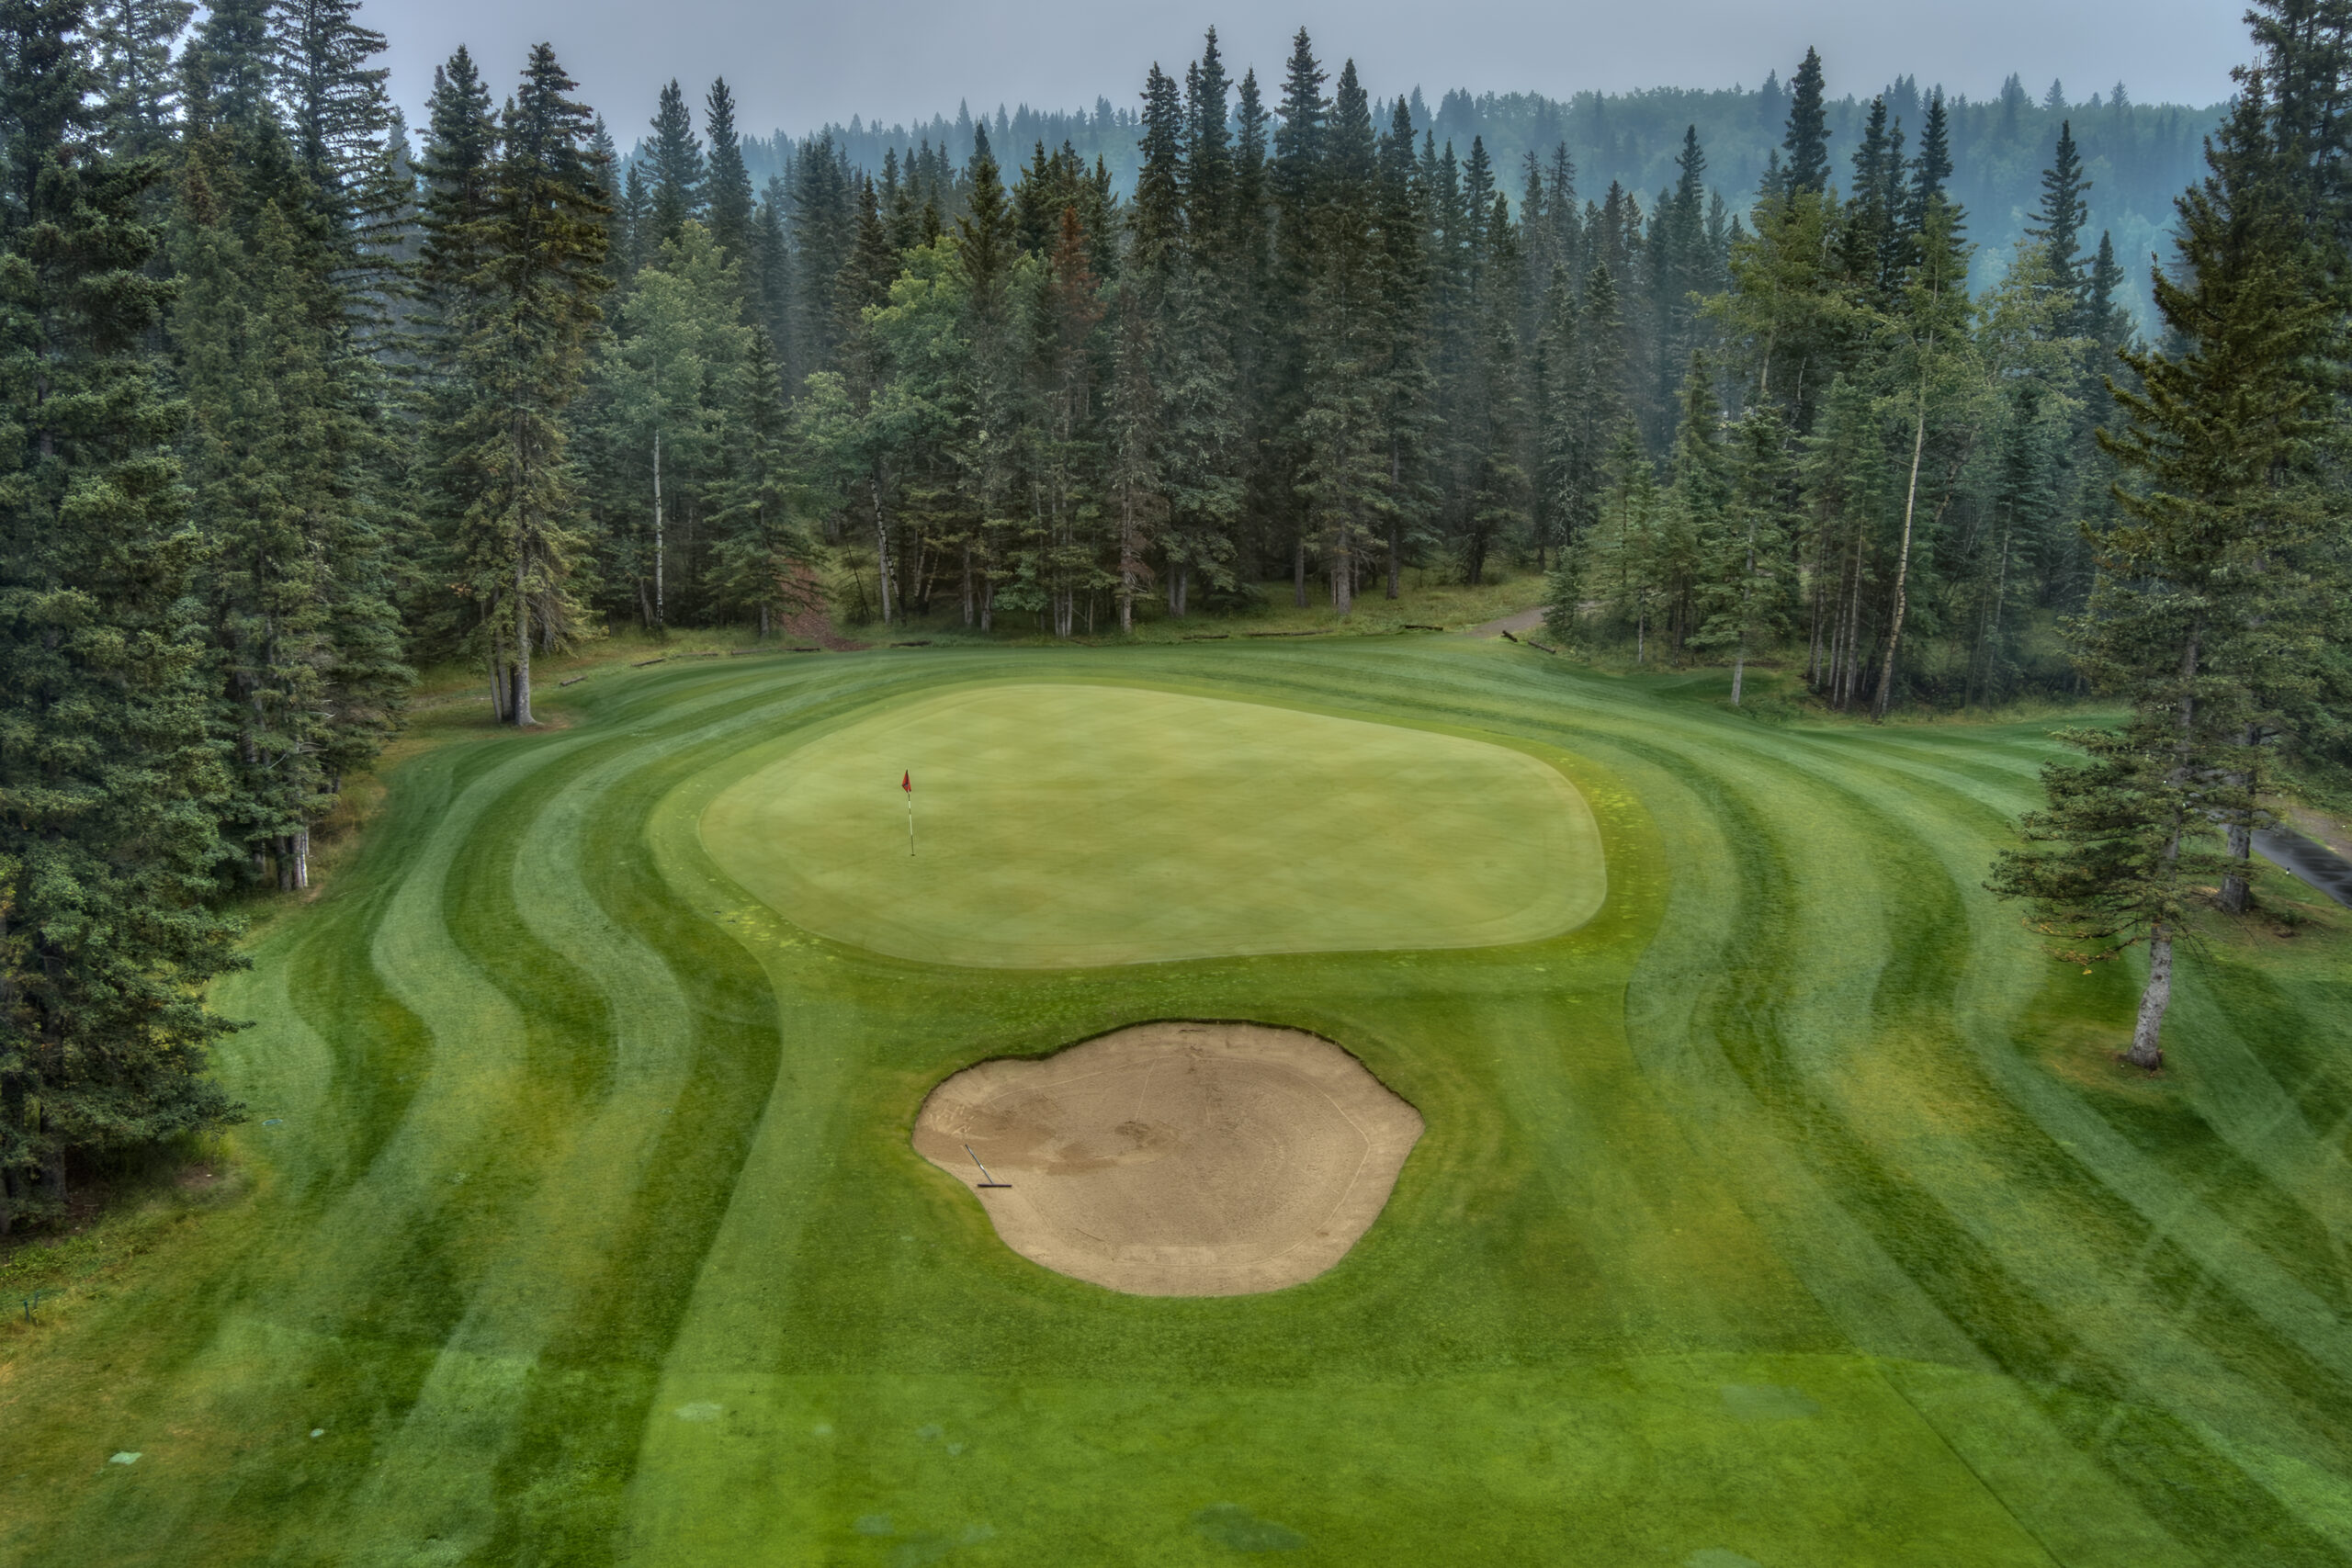
Hole 7
Our most difficult hole on the front. Depending on the choice of tee, some players may be able to carry the fairway bunker. Either way, a shot from the fairway will help negotiate the large tree guarding the front right of the green. Love to hate it or hate to love it, this tree is in the way. Find the front left of the green, two putt for par and run to the next tee with a smile.
Details
Par 4
402
322
464
376
288
Hole 8
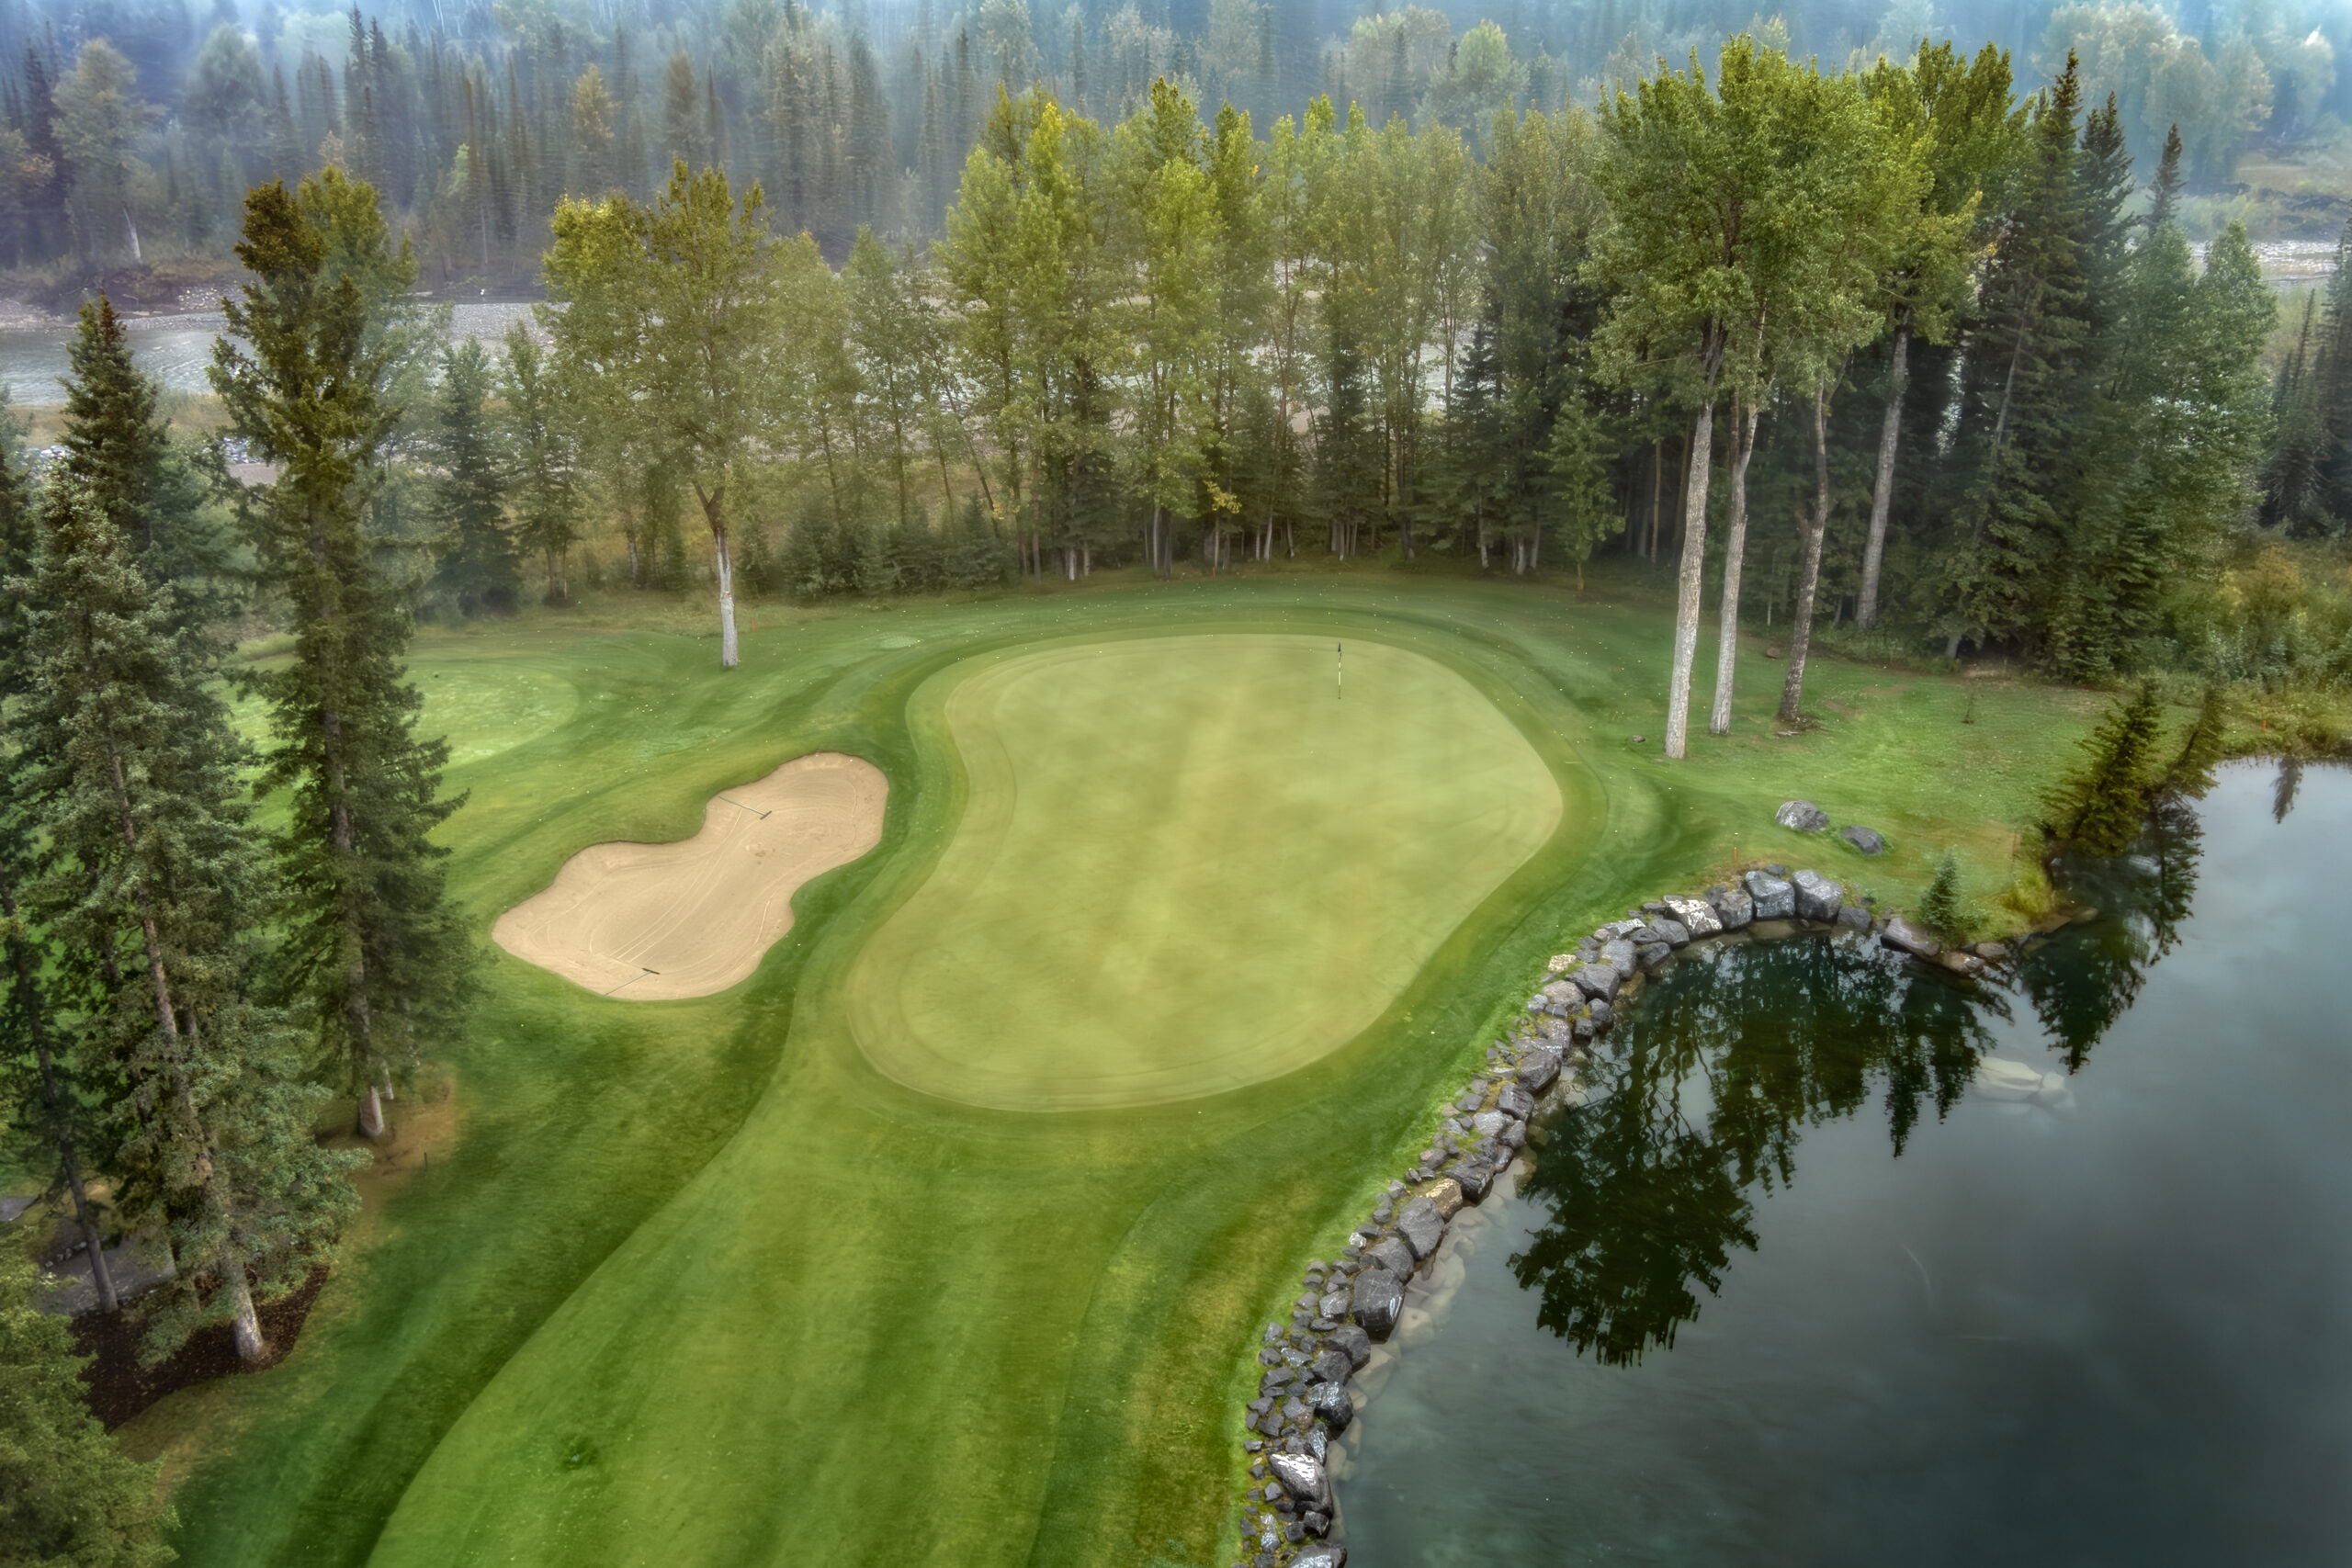
Our shortest par three requires a well struck iron through a chute and over water. Accomplish this and a birdie may be in your future. Chase a back pin with caution as long is no good.
Details
Par 3
147
99
159
122
75
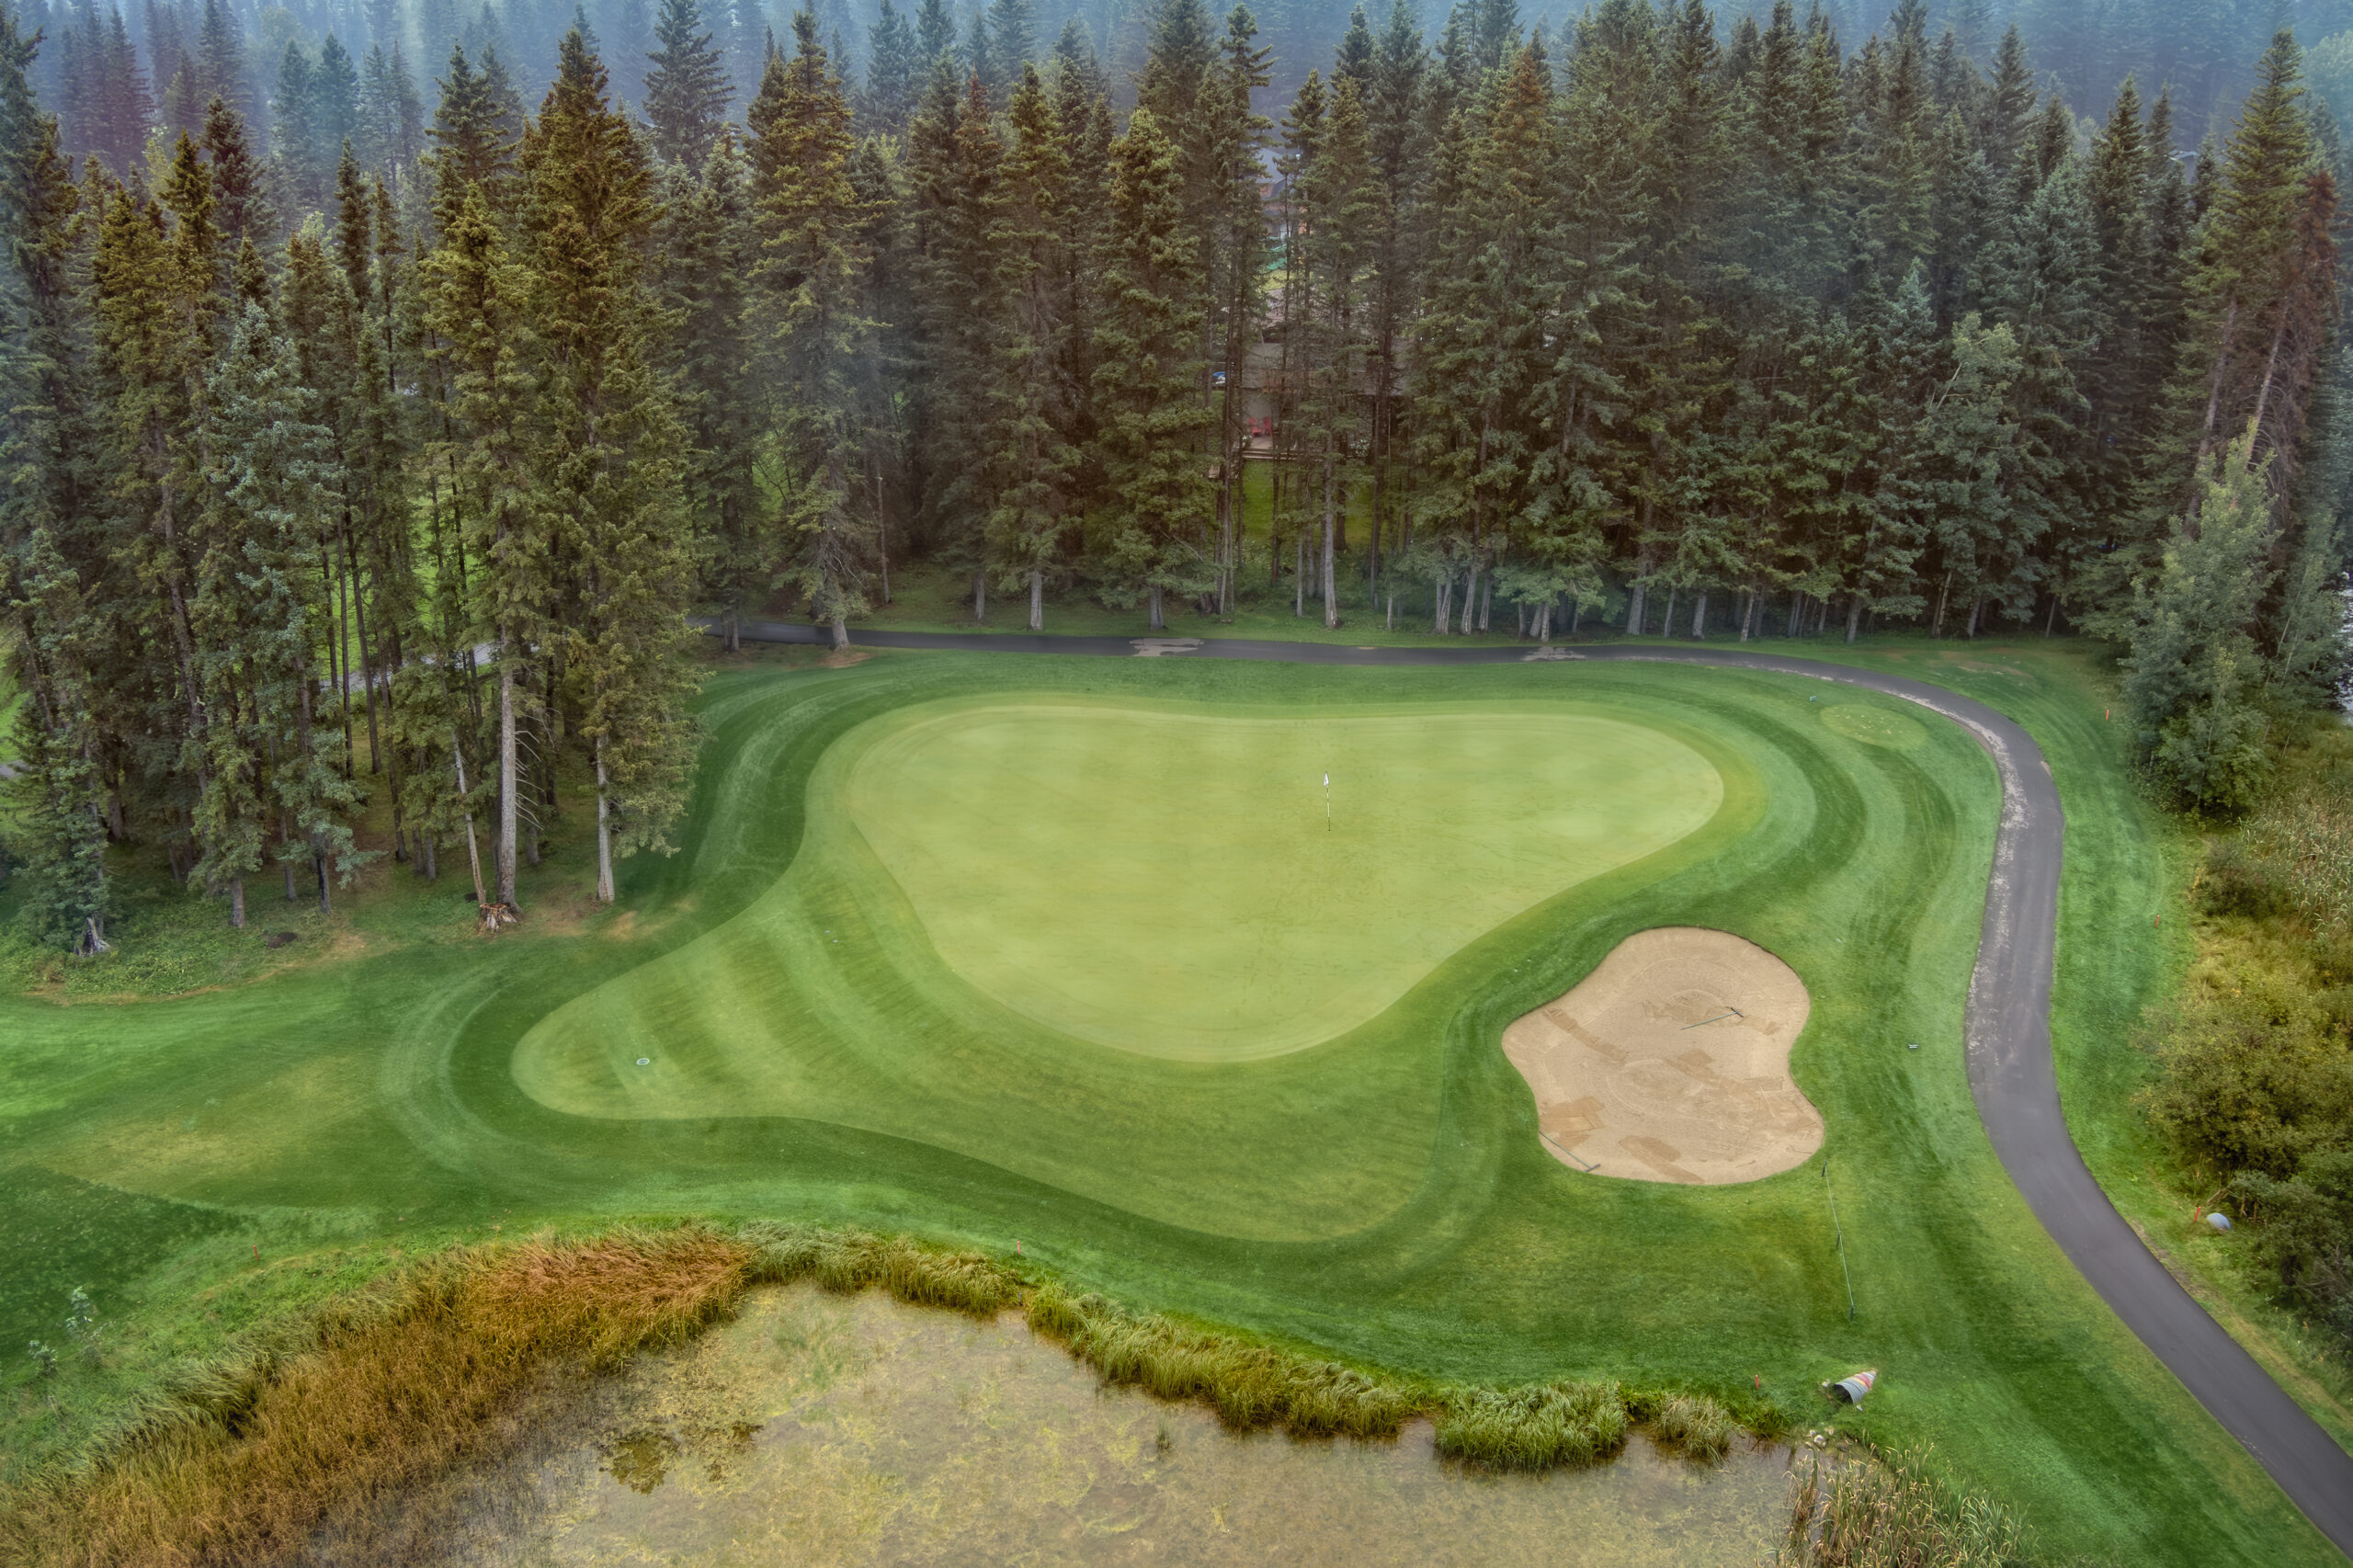
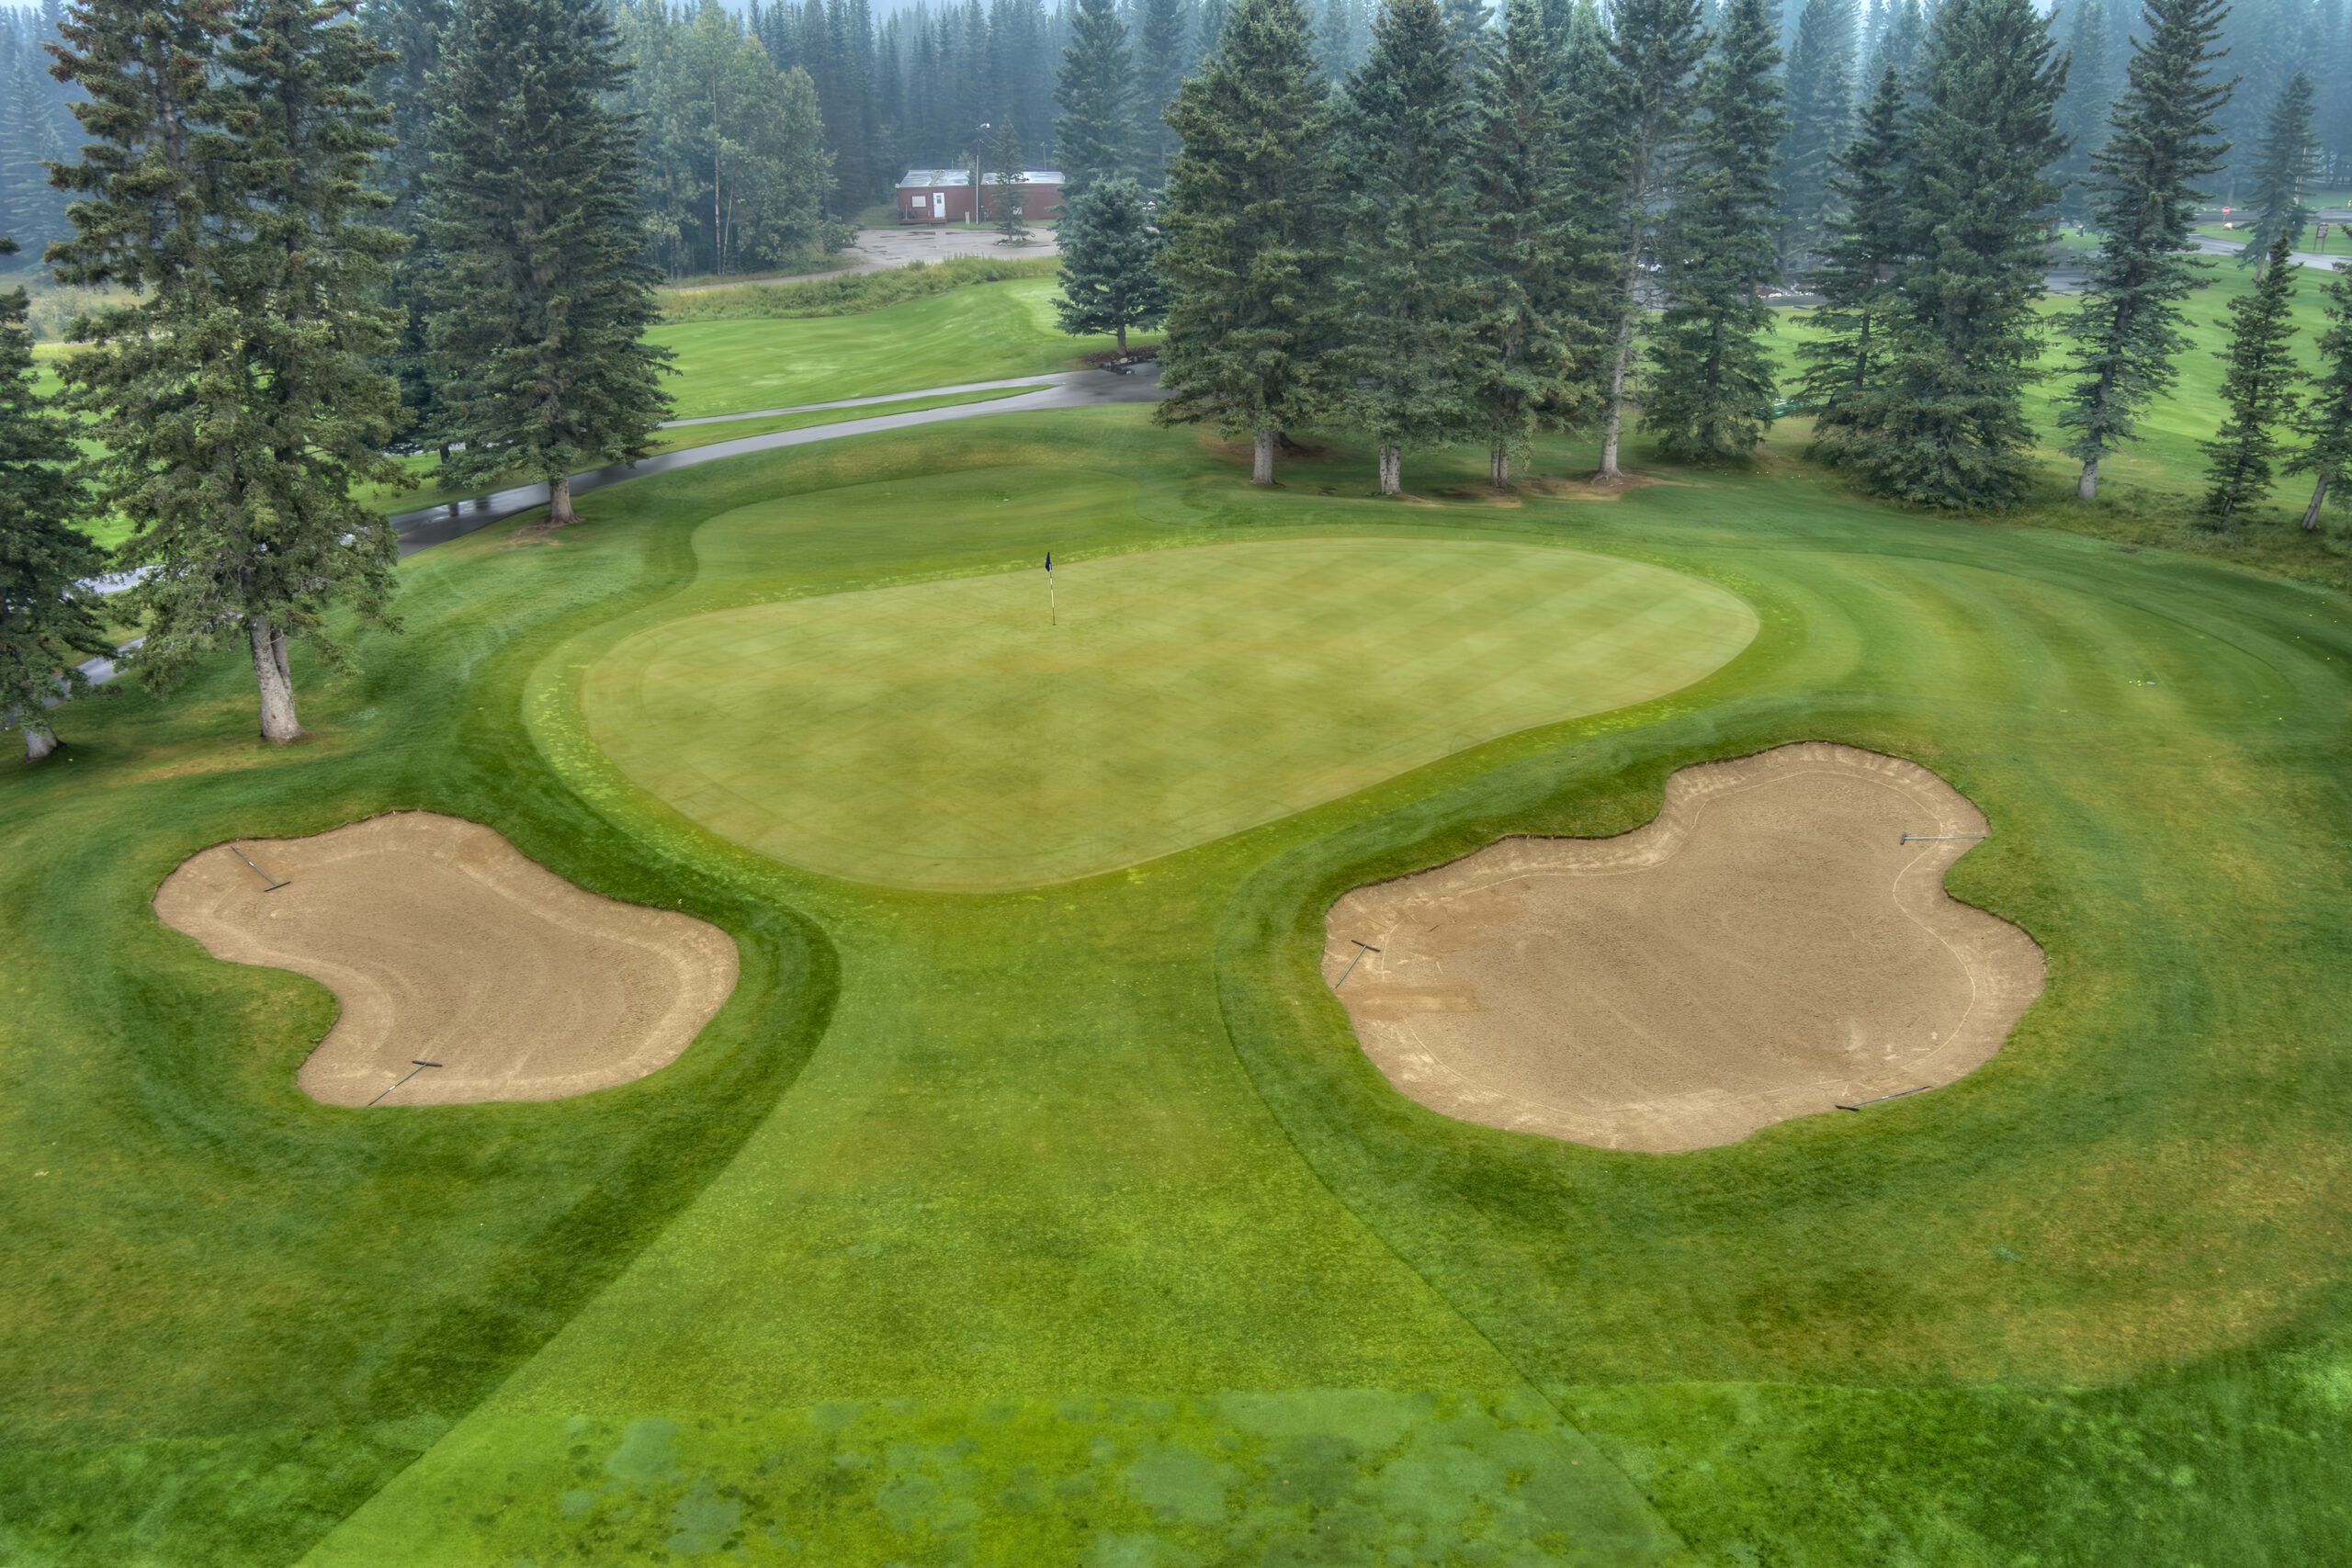
Hole 9
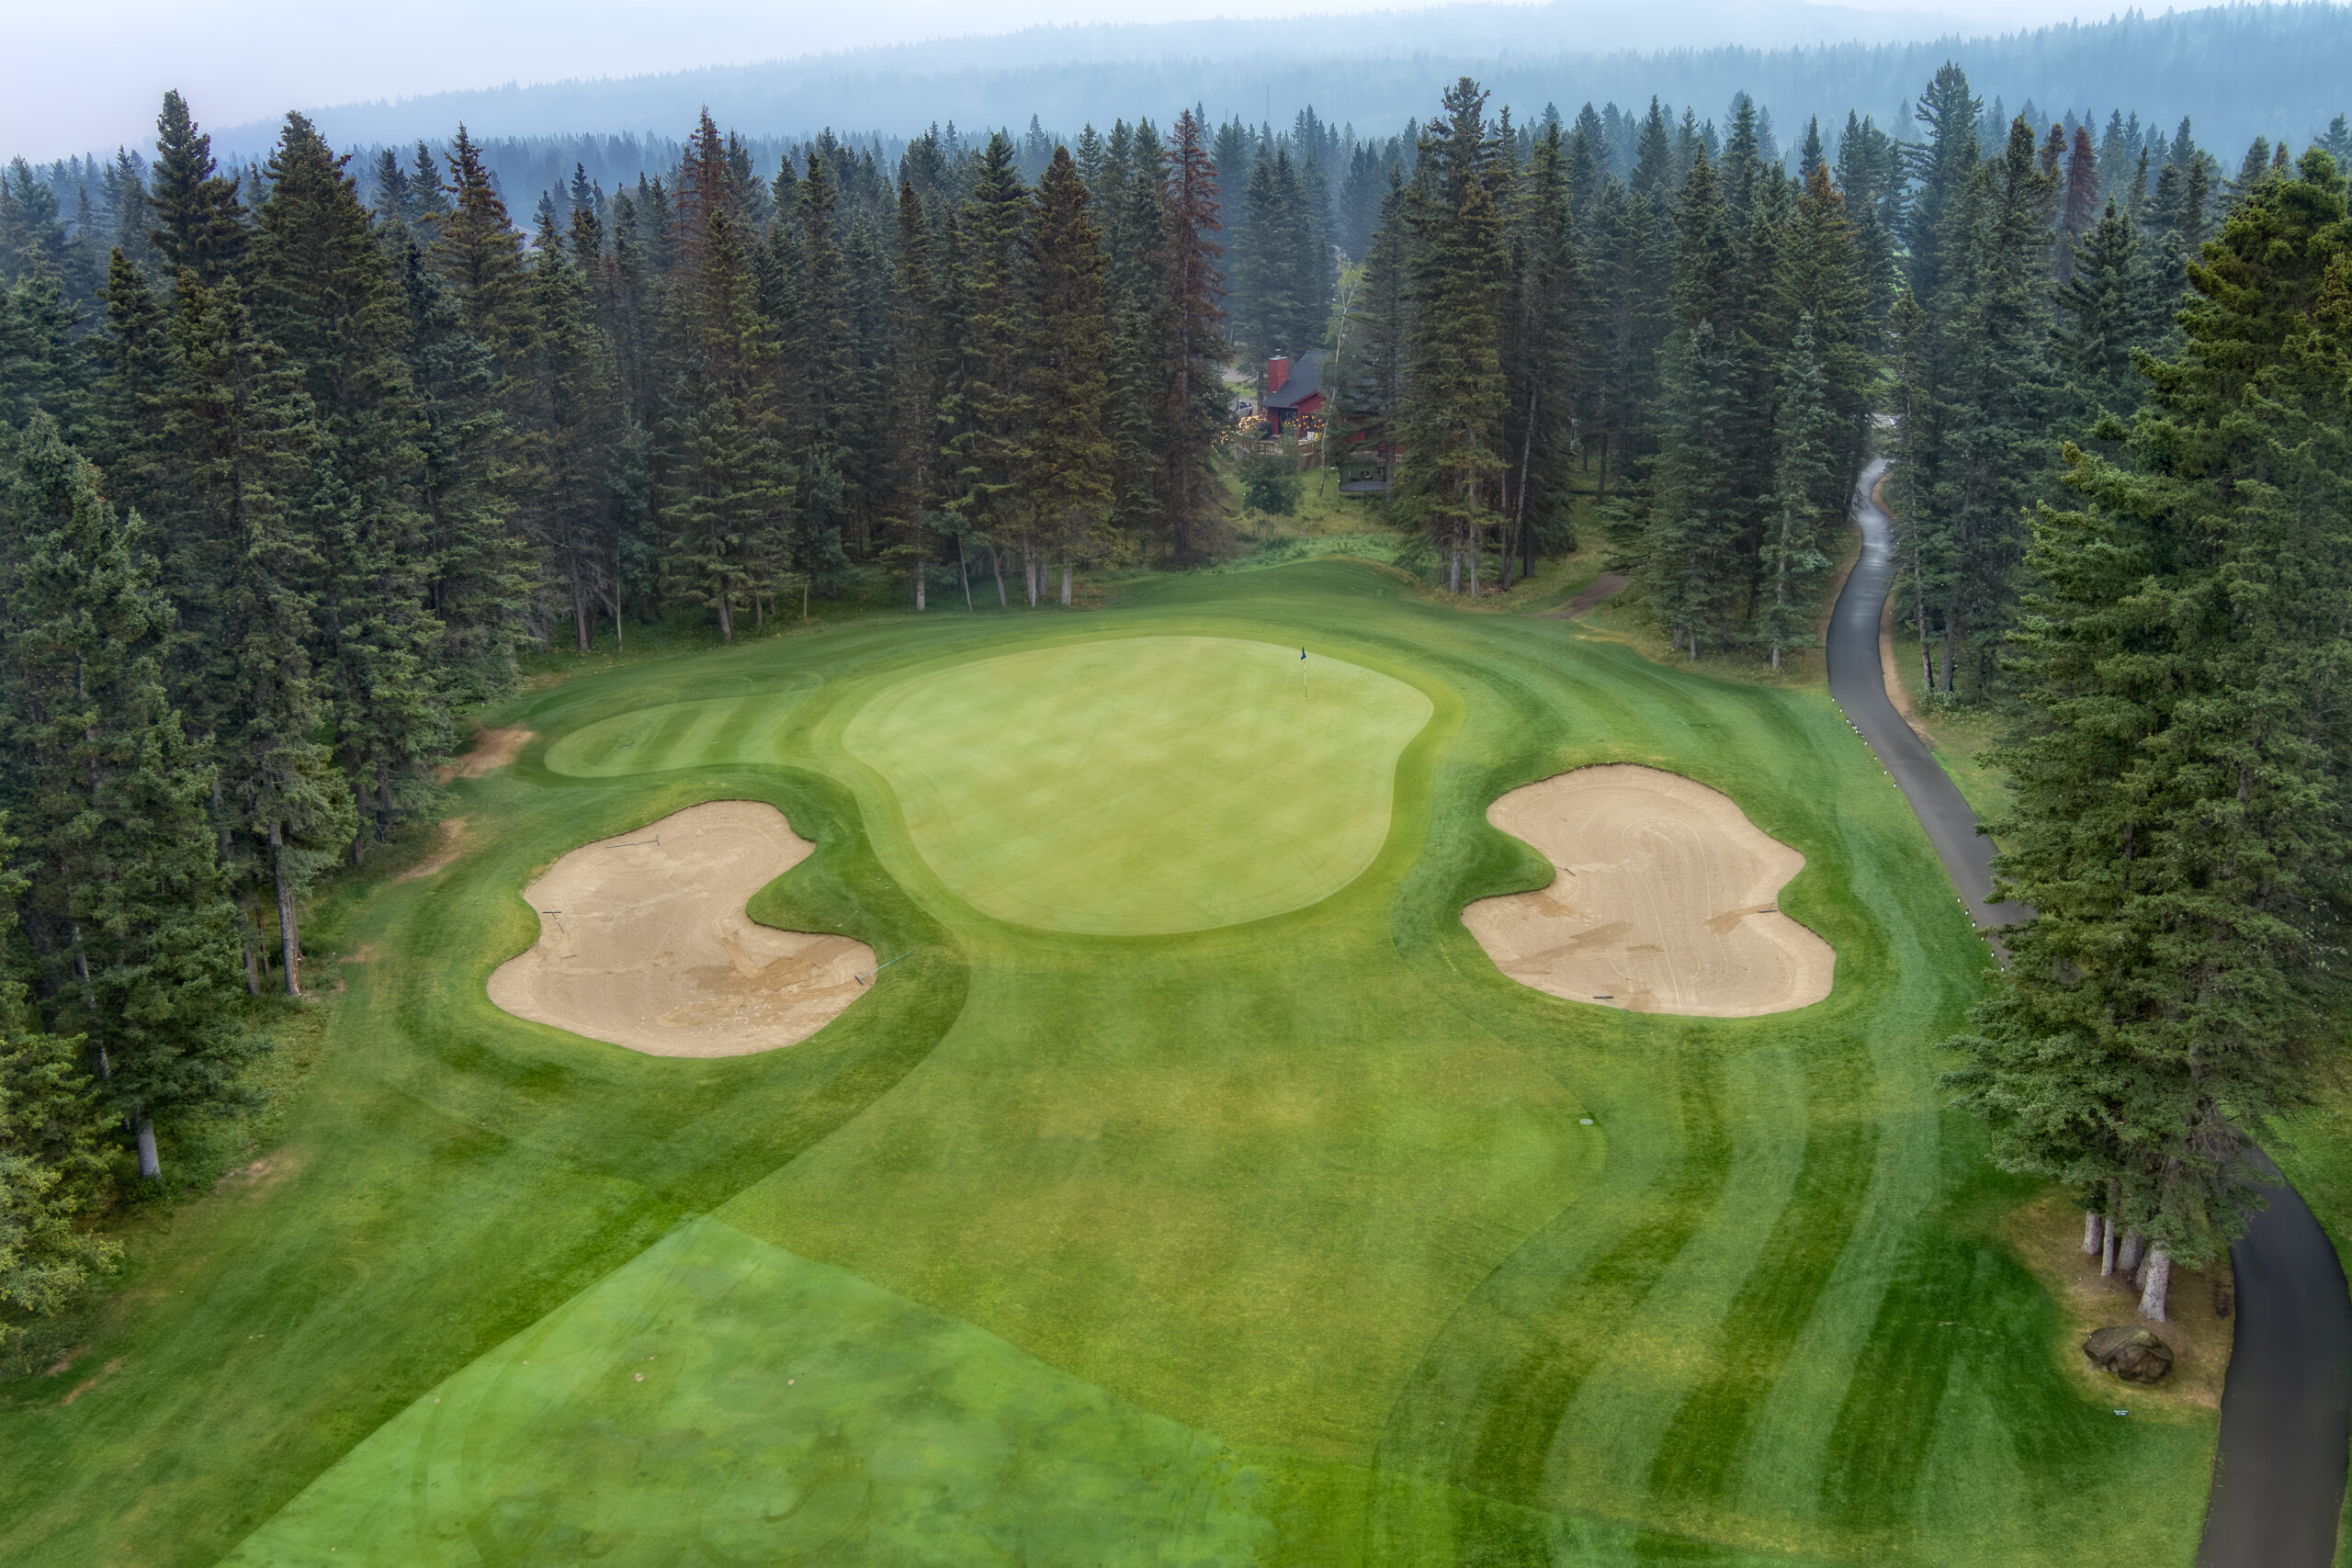
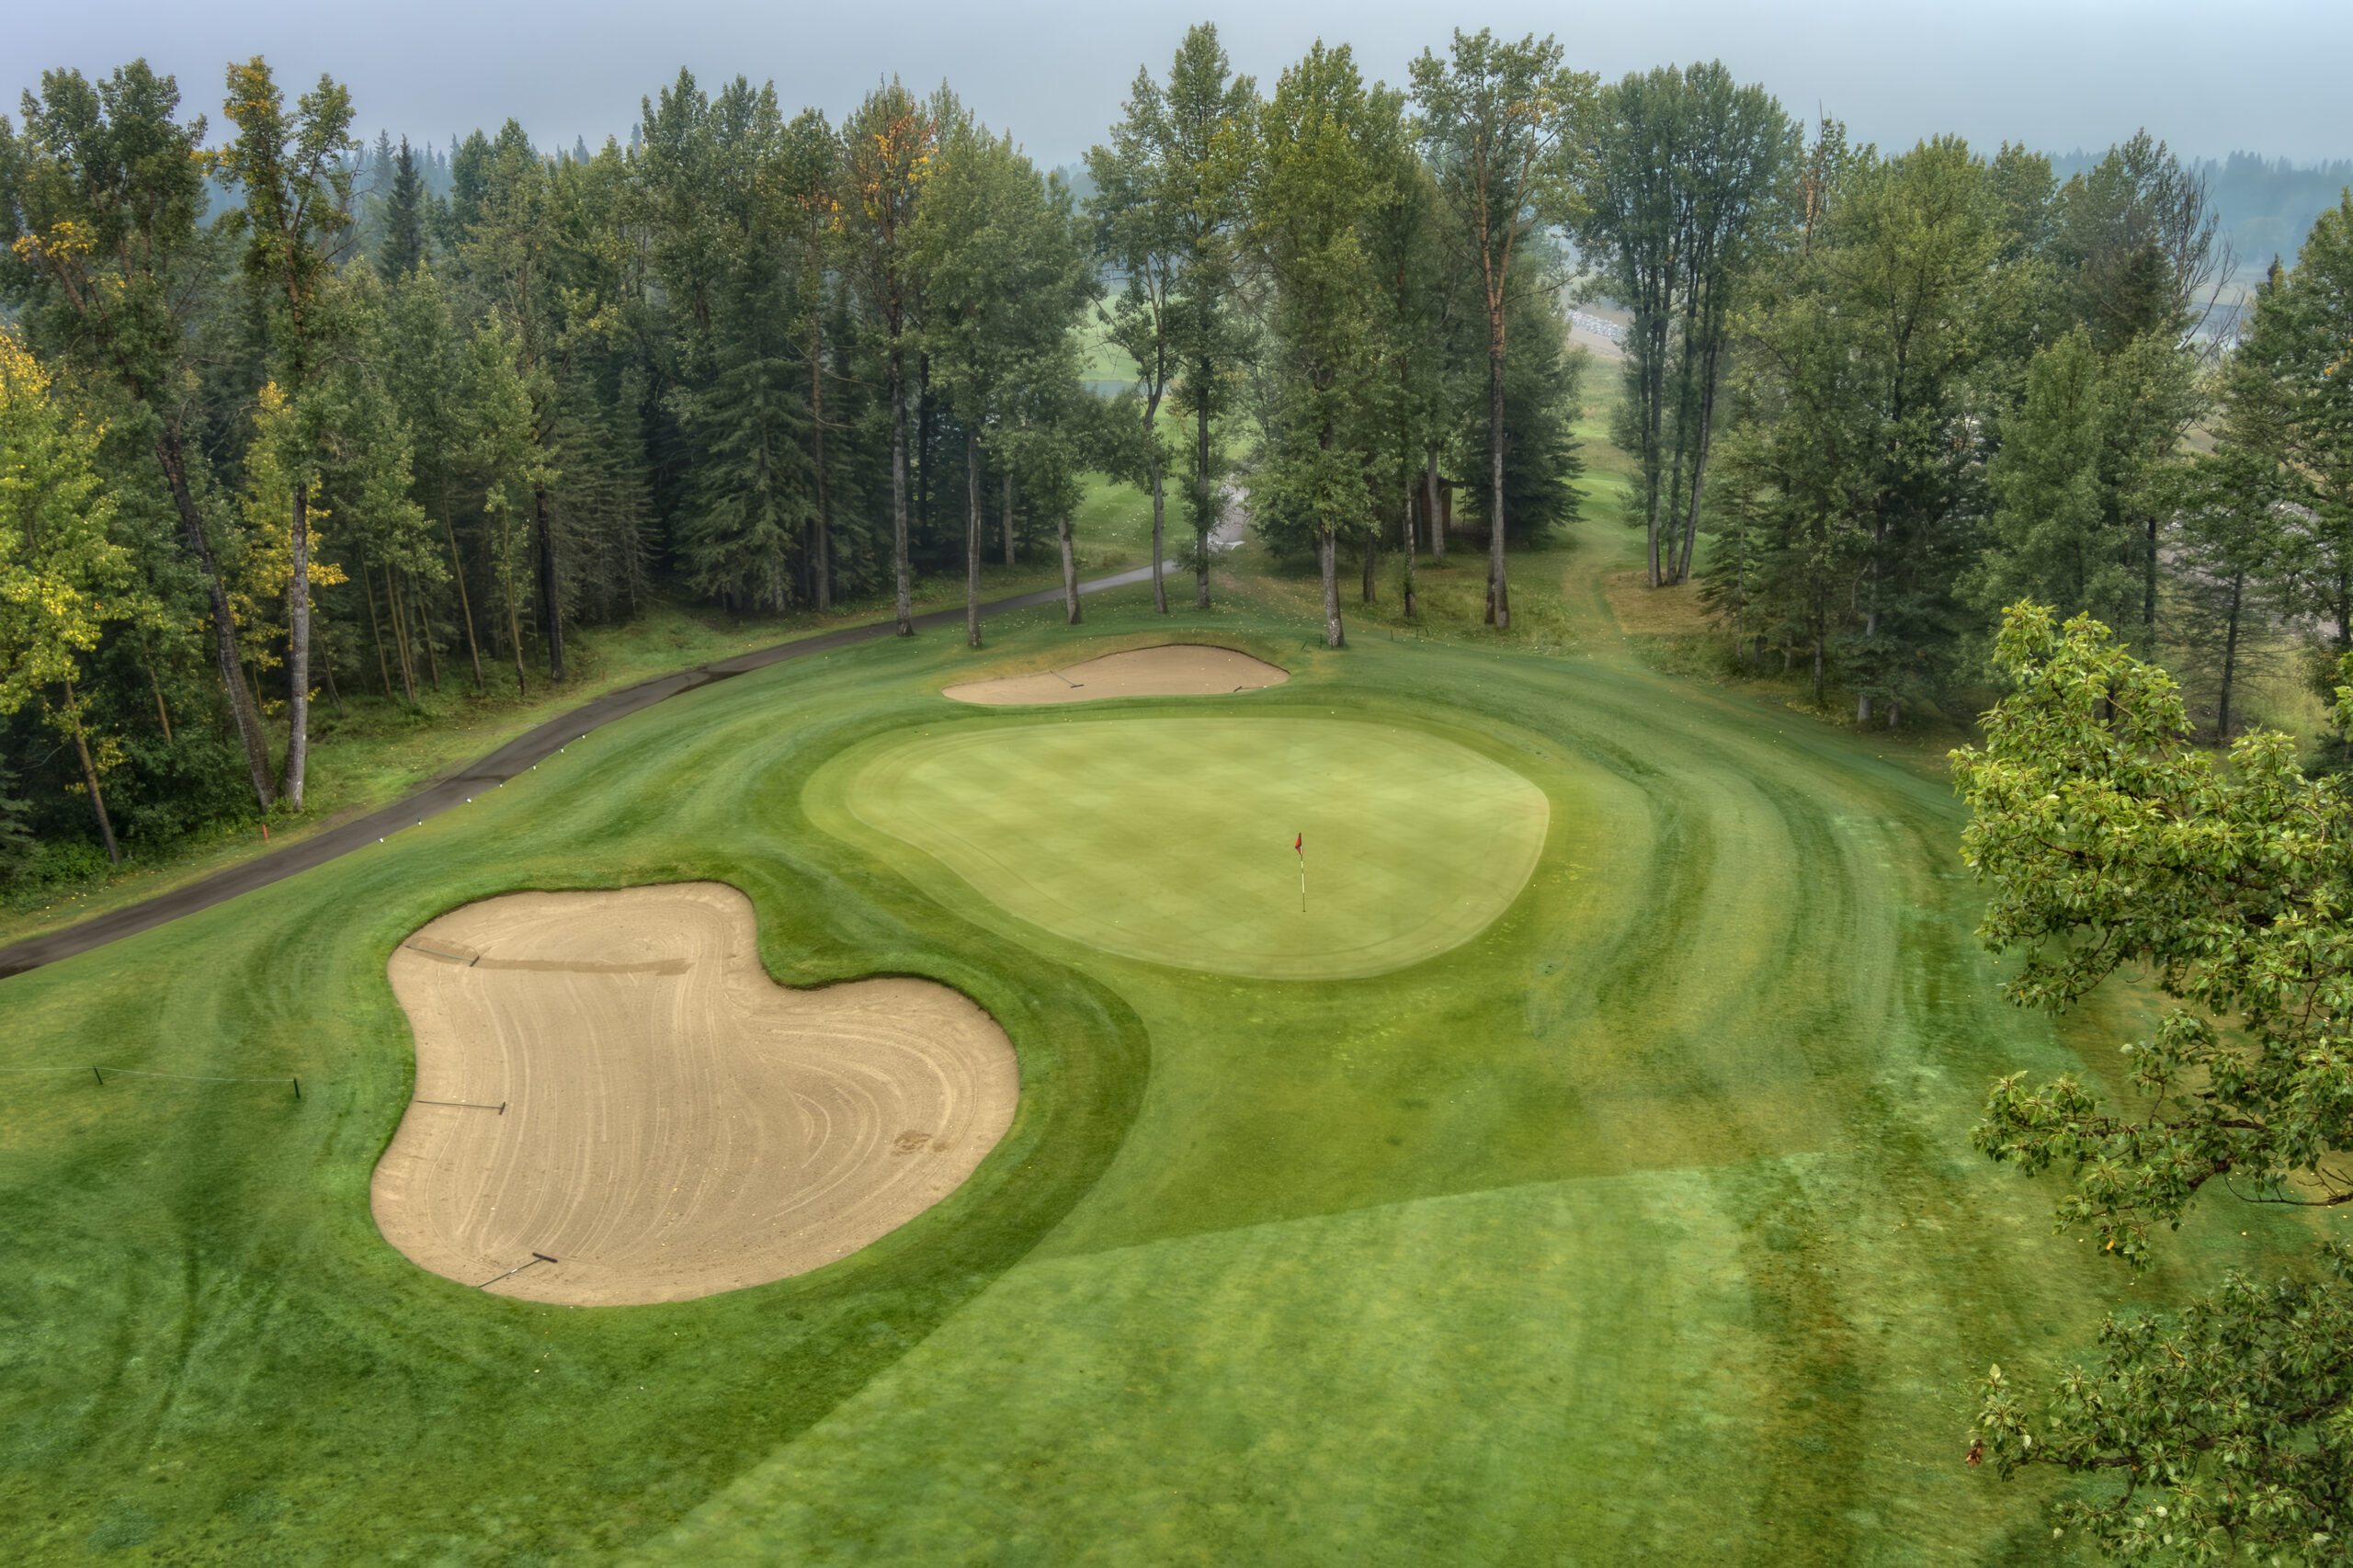
The front 9 returns to the clubhouse with this dogleg right par four. Long hitters can cut the corner leaving a flip wedge to the green although that may not be the best approach to access a front pin over the greenside bunker.
Details
Par 4
376
302
396
313
295
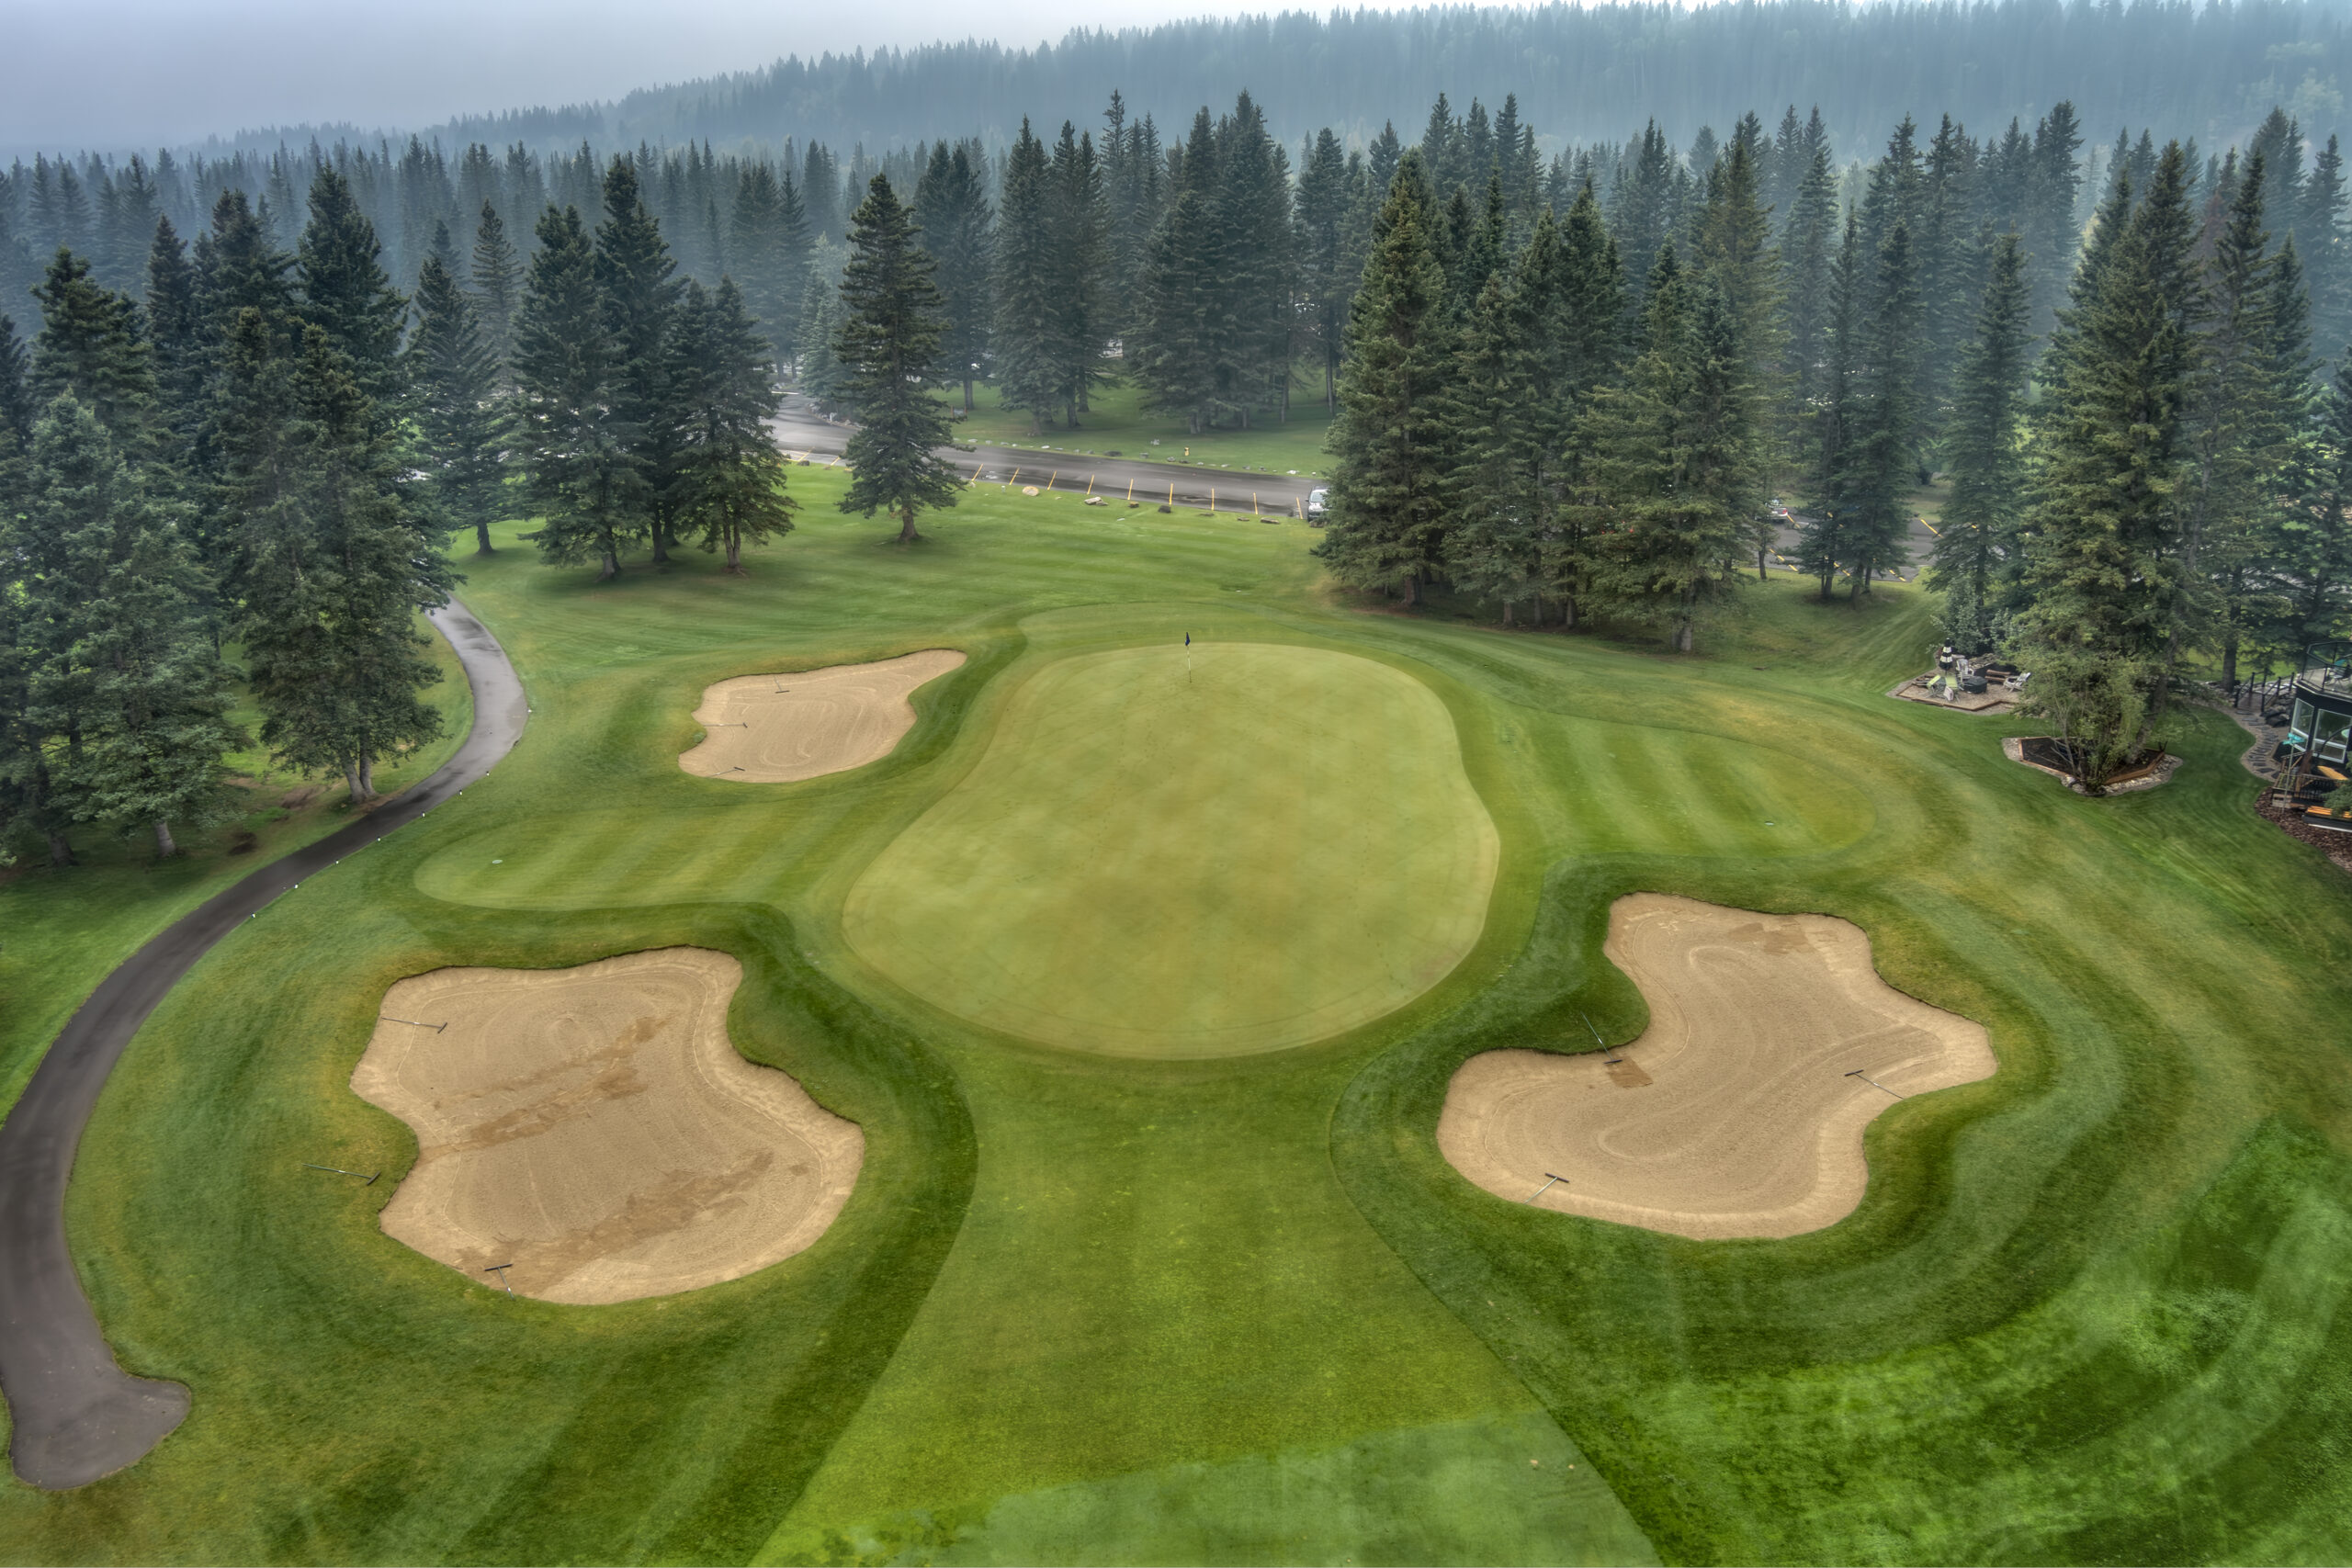
Hole 10
Favour the left side off the tee to avoid the fairway bunker and have a clean look at the green. Players who bounce the ball up to the green will need to be accurate with their approach. Two solid shots can get your momentum going as you start the back 9.
Details
Par 4
406
314
422
387
277
Hole 11
Aim a safe club at the left bunker to or shorten the hole by challenging the right bunker. The back half of this green is hidden from the fairway but there is more room than it looks. Any shots that roll off the back will have an uphill chip coming back.
Details
Par 4
381
353
413
367
289
Hole 12
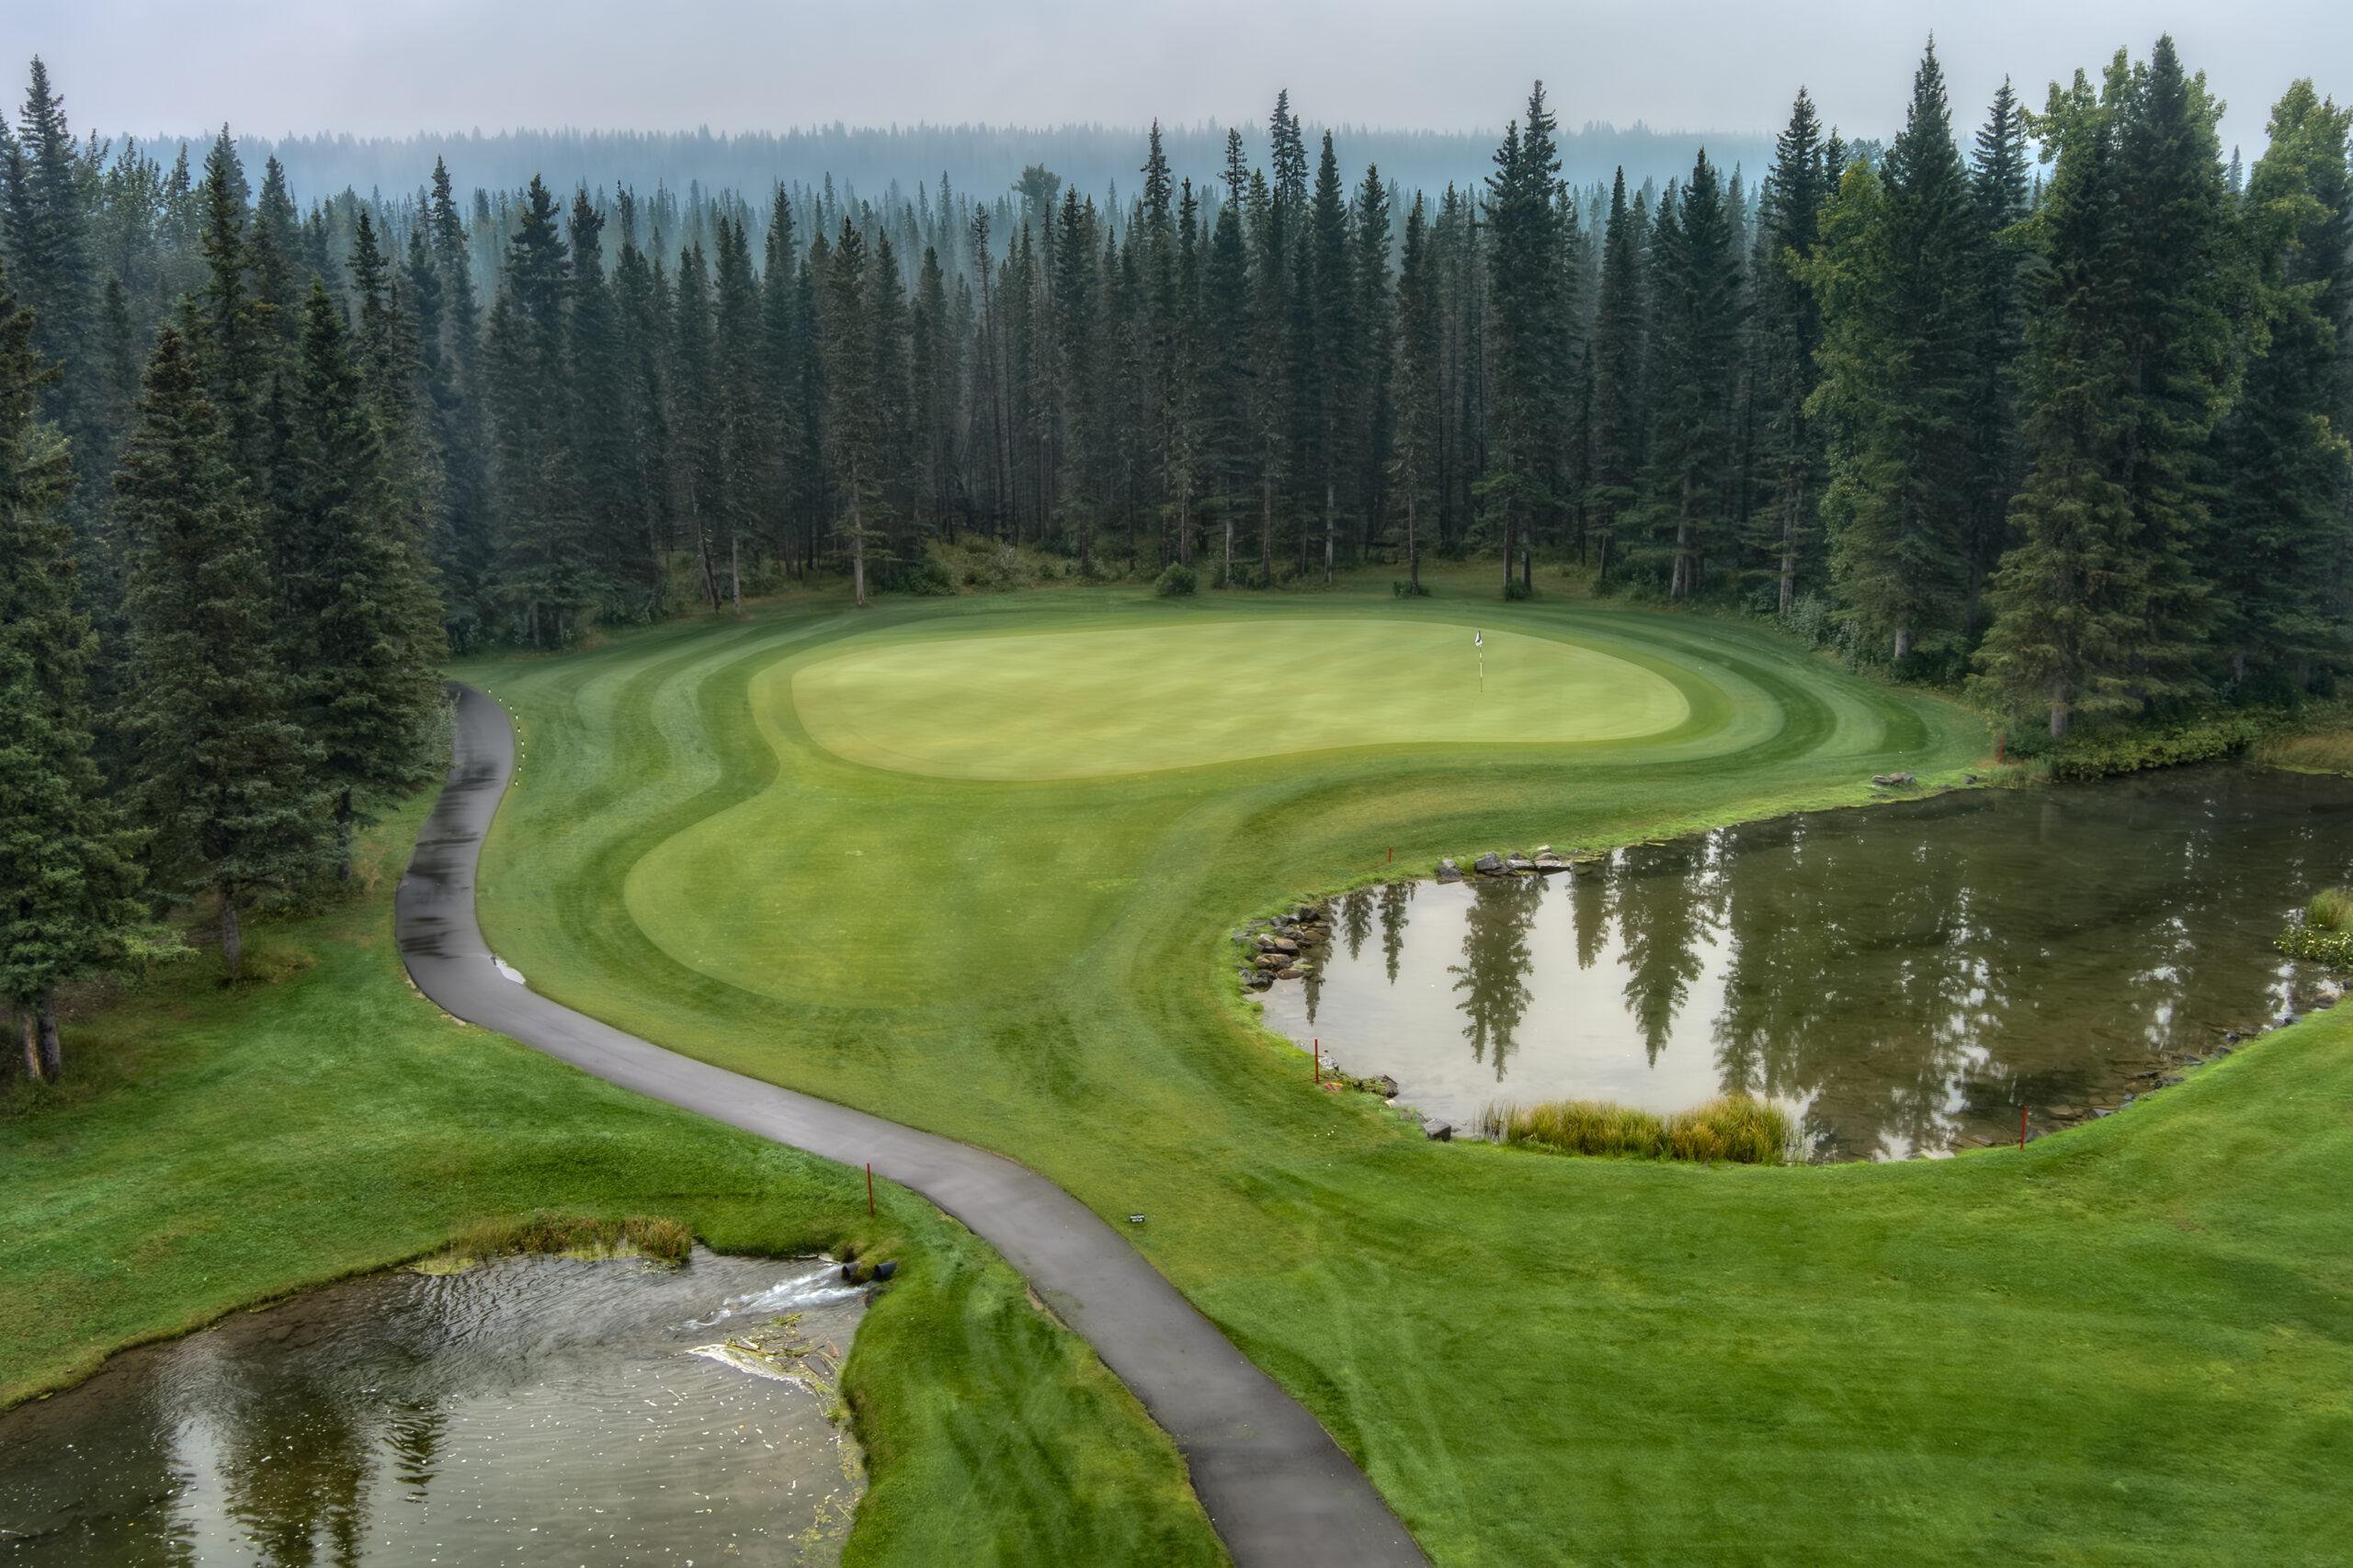
A medium length par three over a deep pond offers views of the Elbow River in the background. The green is deep and will receive a well struck shot. Those who bail left will face a tricky up and down.
Details
Par 3
149
118
179
126
110
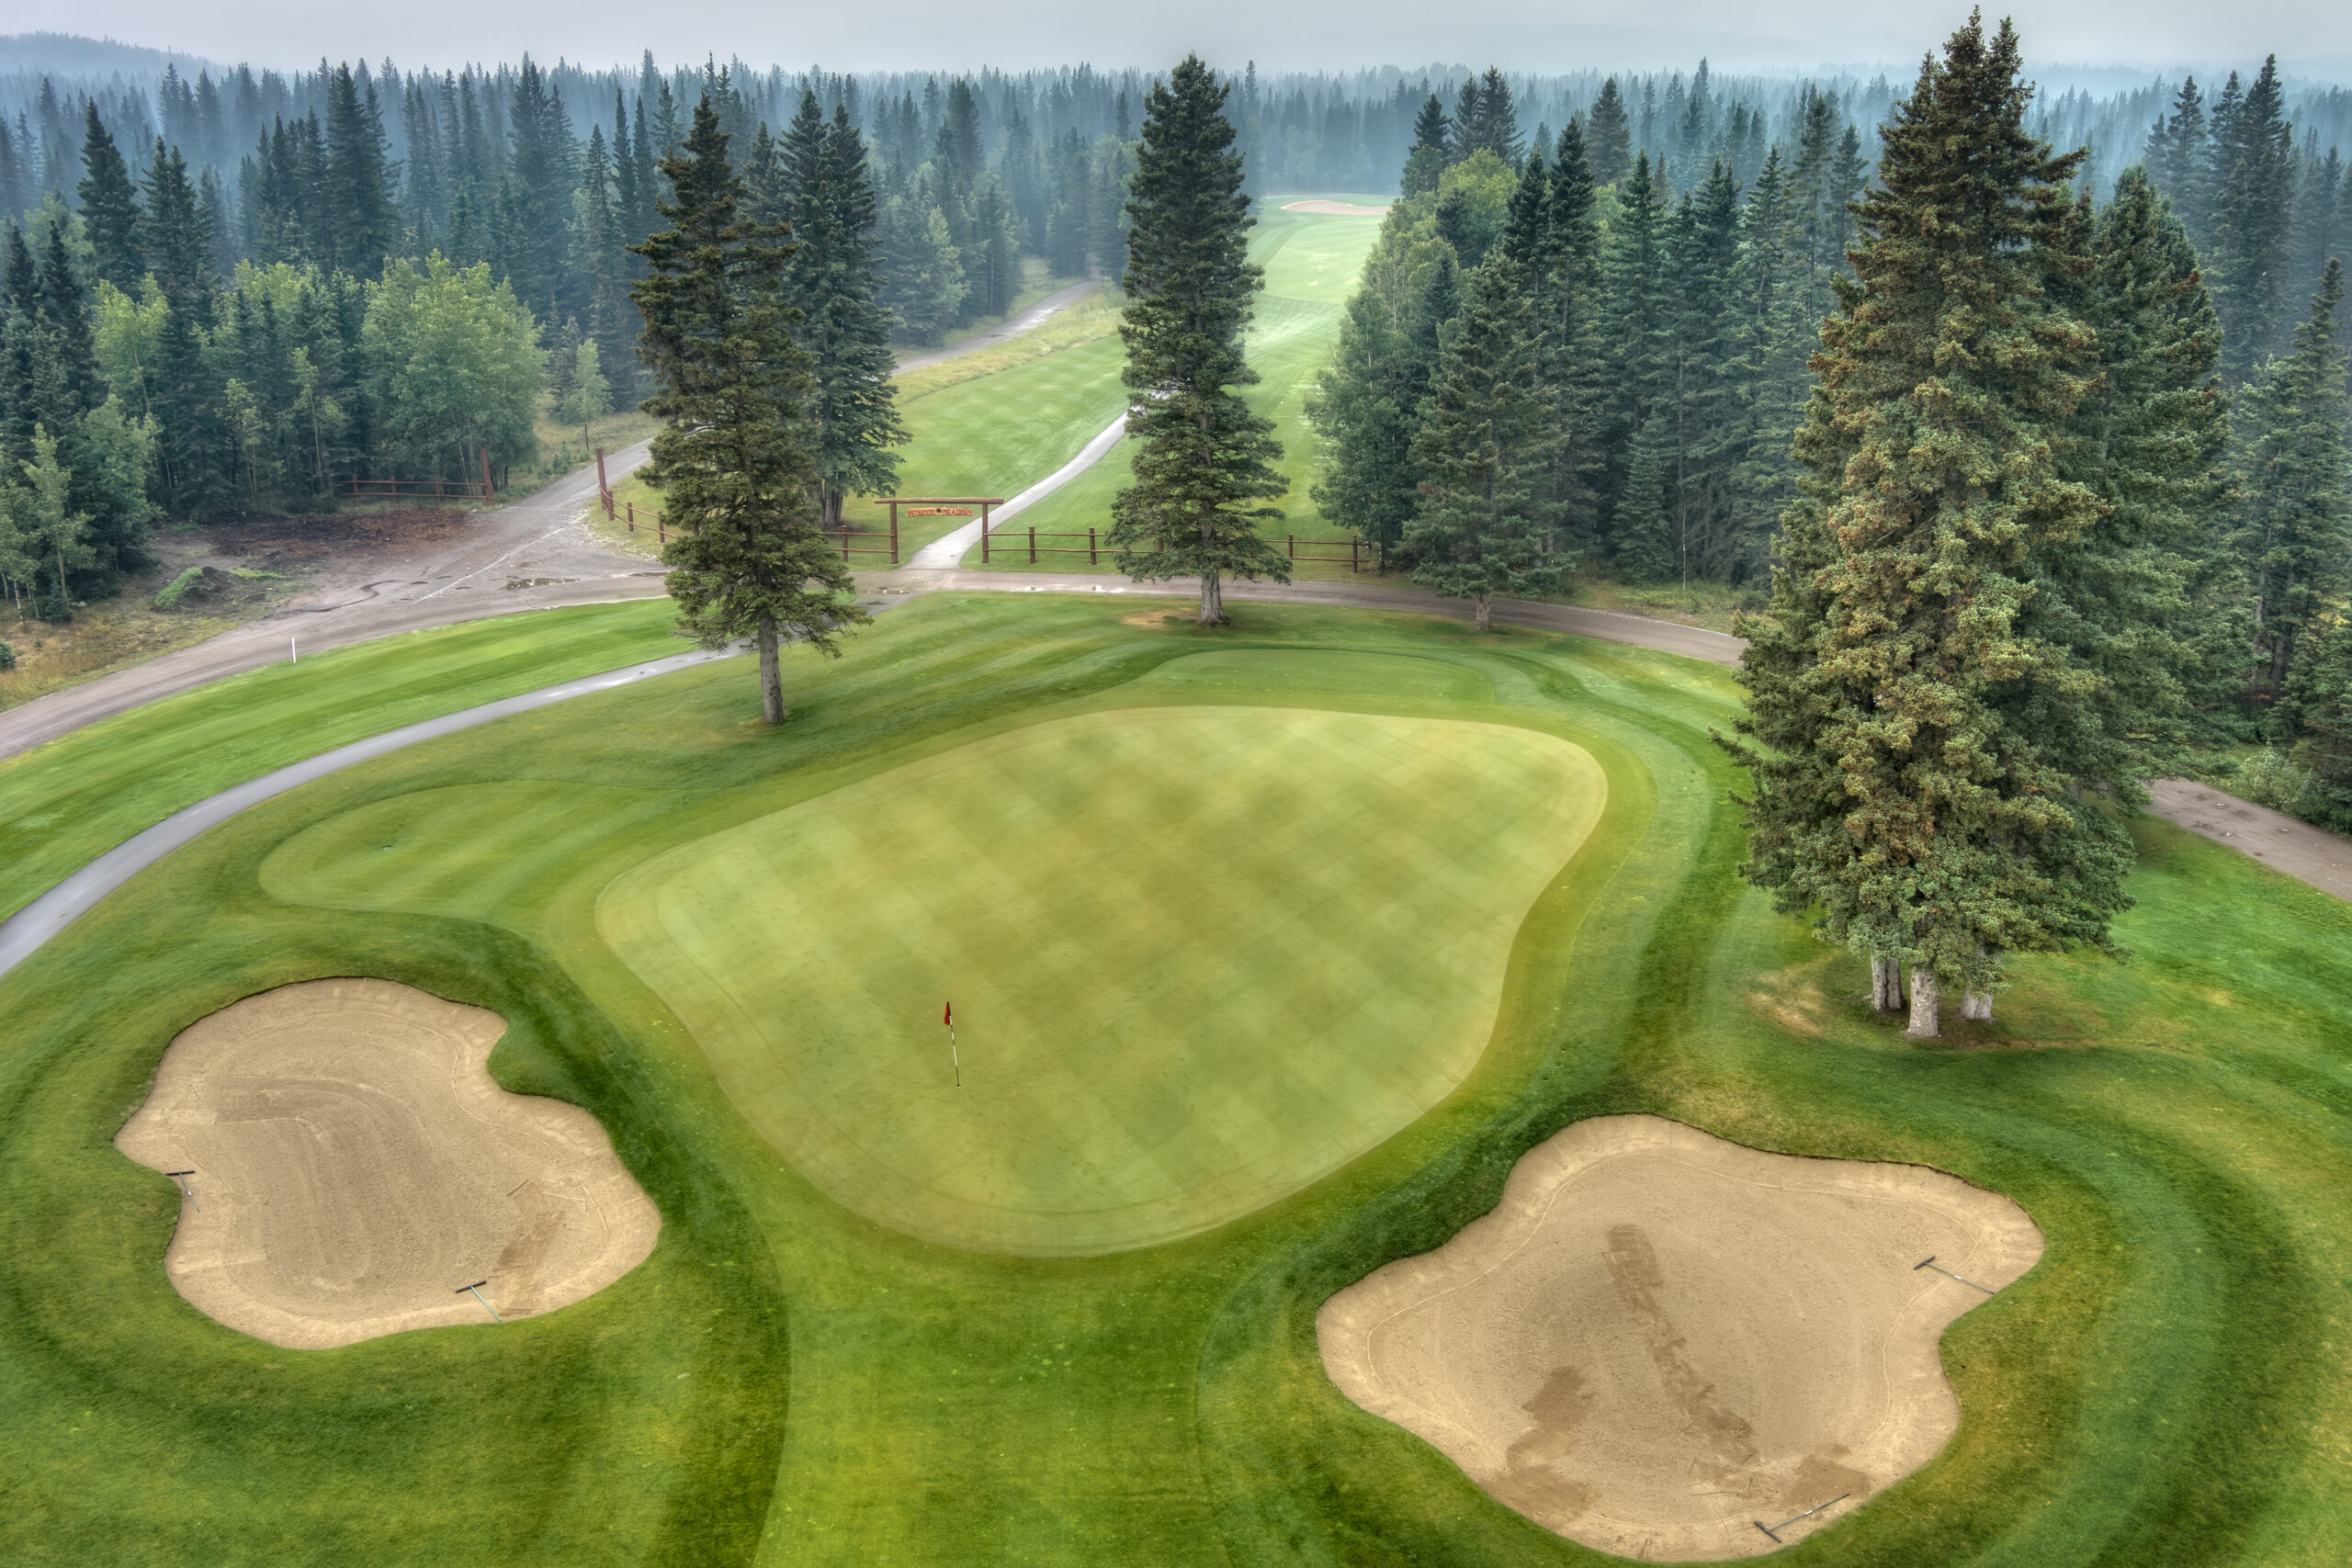
Hole 13
Our shortest par 4 runs along the river and offers a generous fairway. A good tee shot will leave a short iron into one of our smaller greens. Find the right section and a birdie may be in your future.
Details
Par 4
340
315
376
324
275
Hole 14
Don’t let the scenery distract from the challenge in front of you. Take a moment to enjoy views of the mountains, river and a lazy creek that runs the length of the hole. Like the second hole, a perfect drive over the corner of the pond may offer a chance to get home in two but the safe play is to lay hit two shorter shots to the wide parts of the fairway leaving a short iron into a large and receptive green.
Details
Par 5
533
442
556
493
404
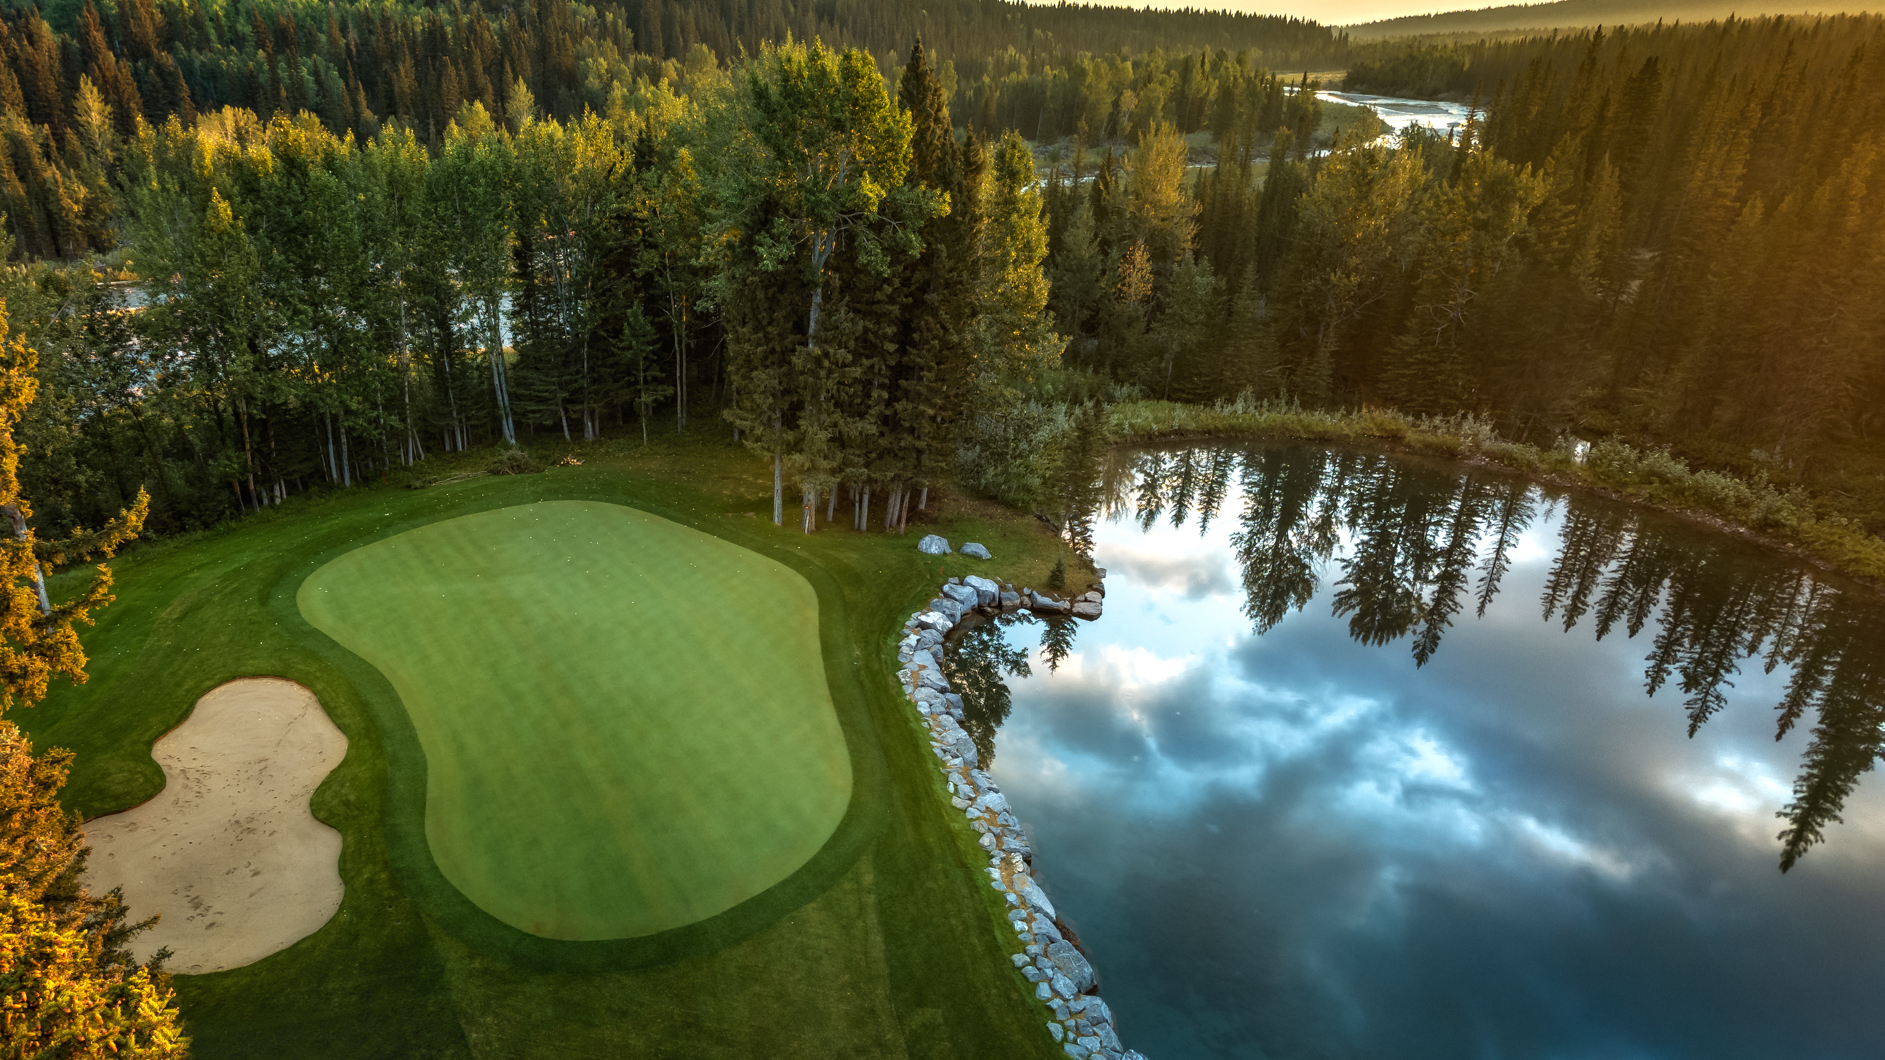
Hole 15
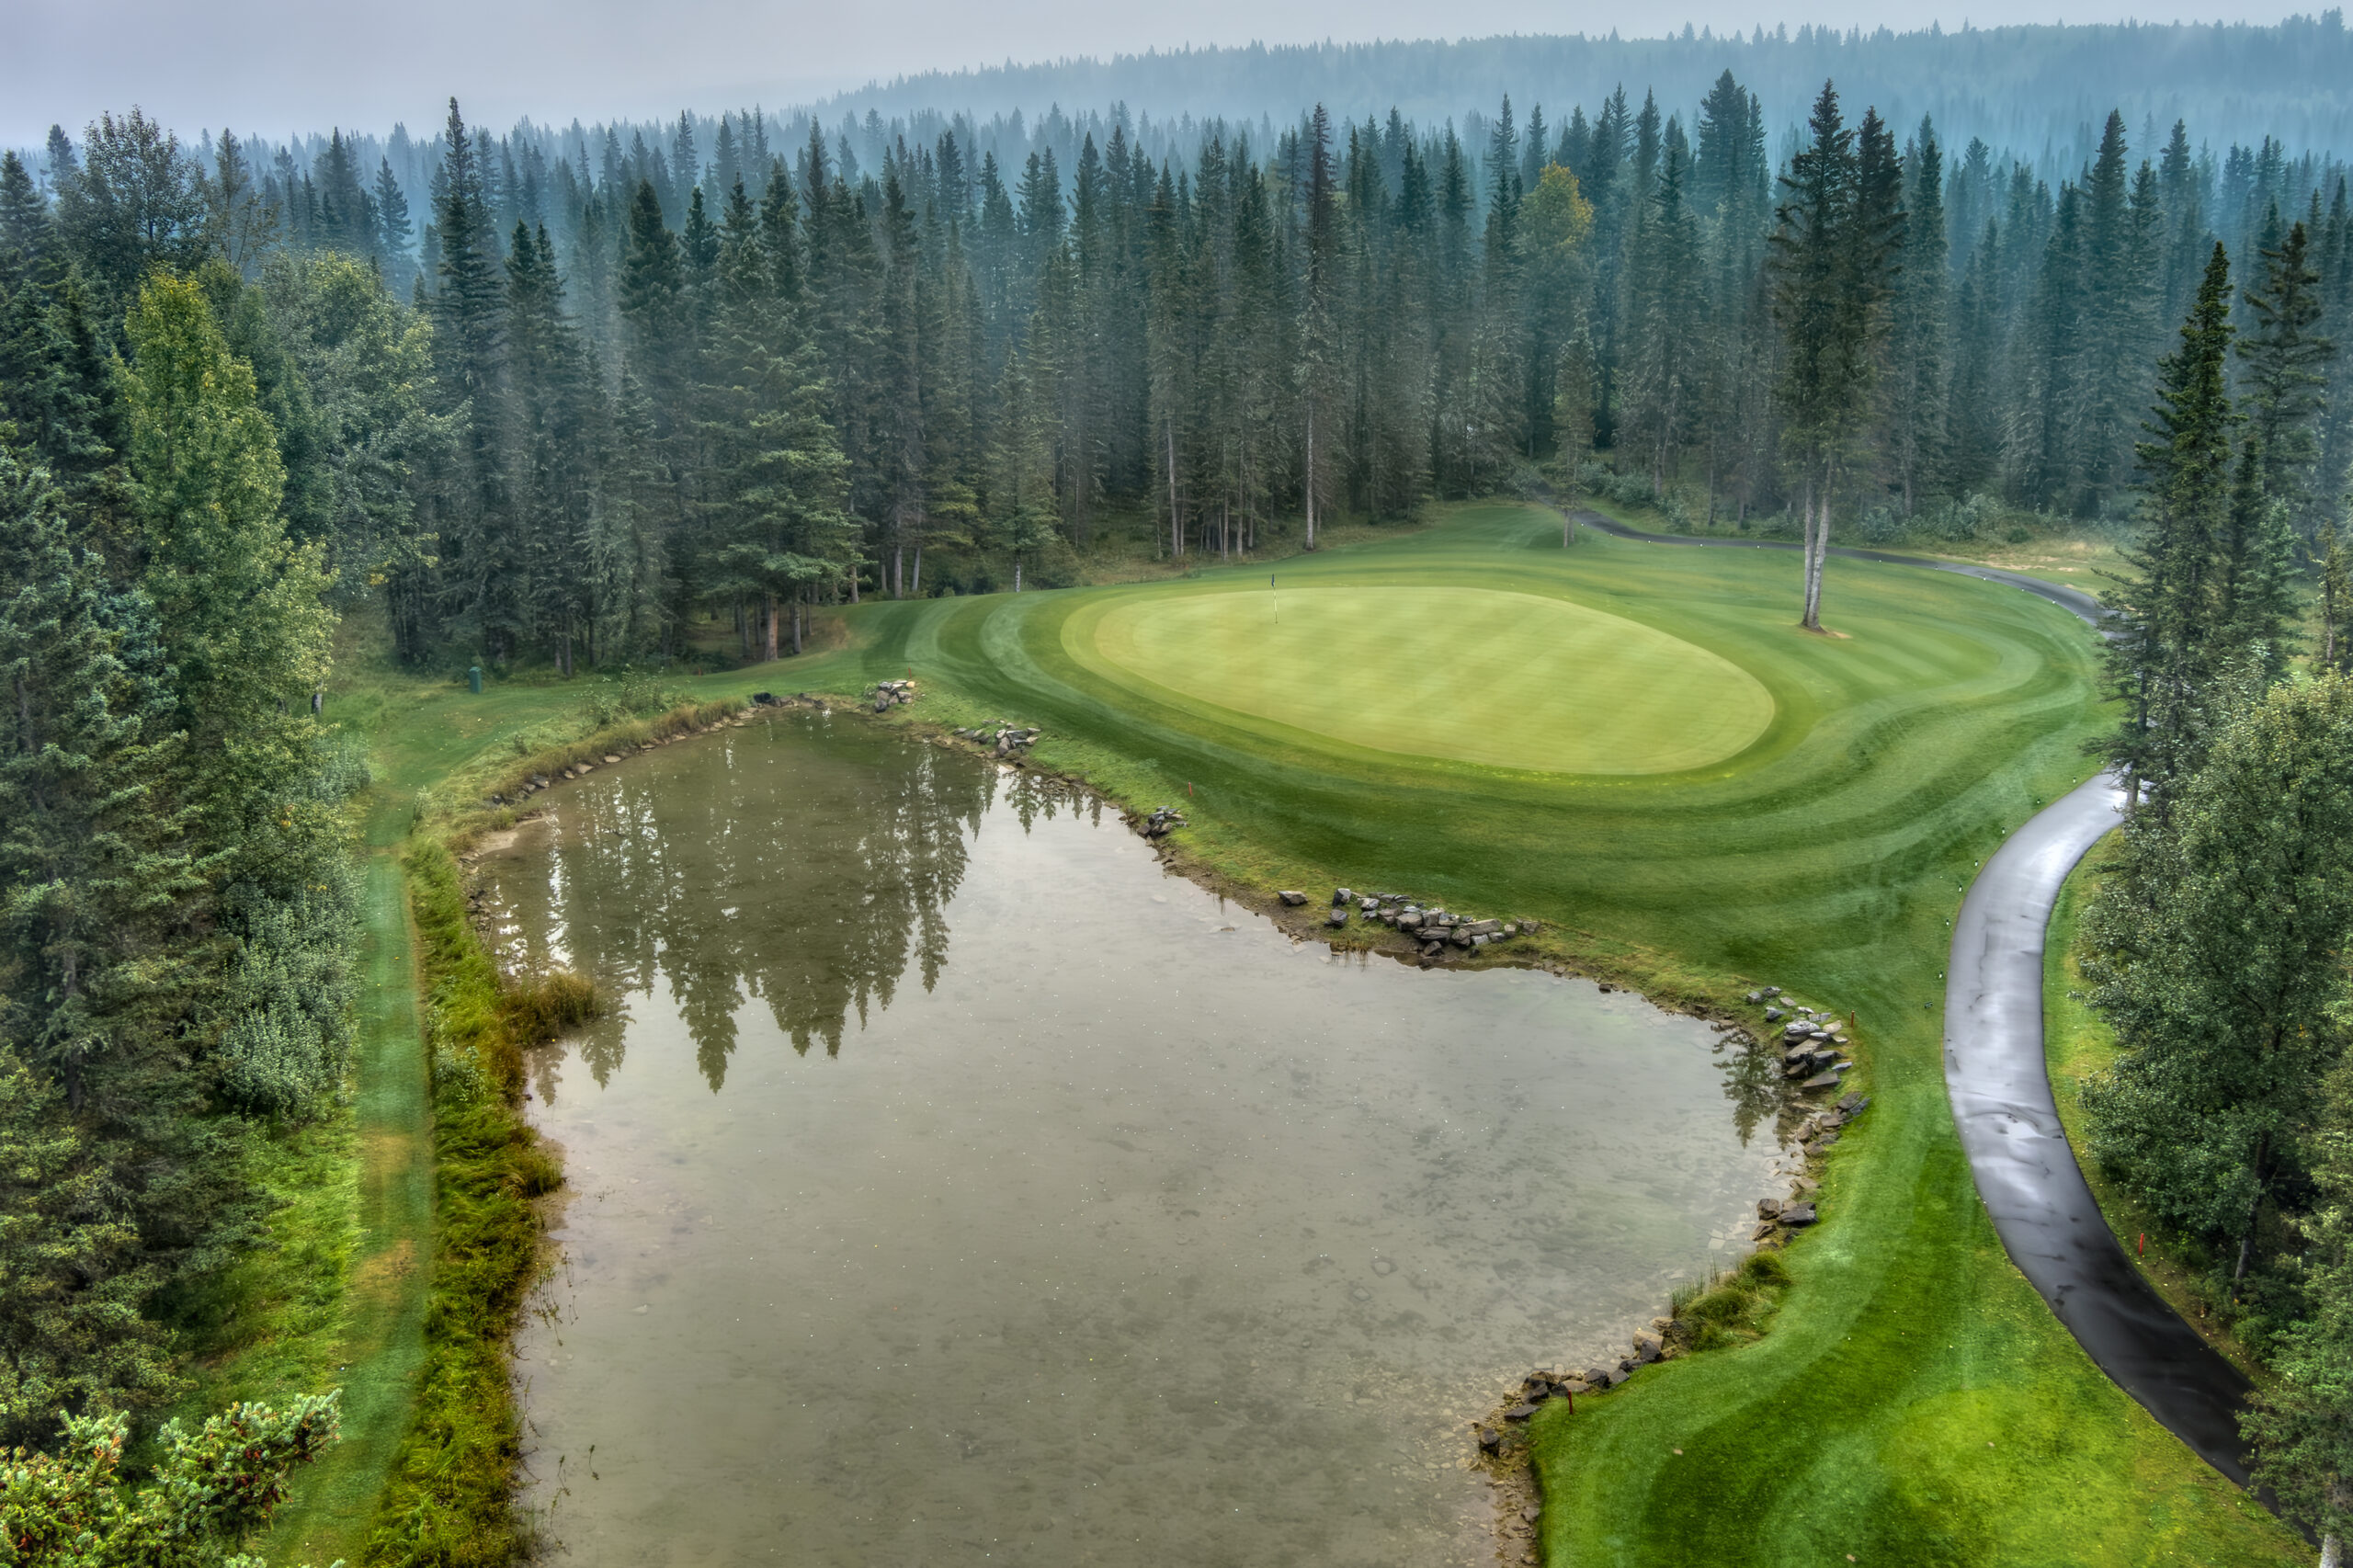
You will be at one with nature on this stunning par three. Trees, wildlife, and crystal-clear water will take all your troubles away other than the shot in front of you. There’s no secret tip to play this hole, you’re going to have to step up and hit a shot!
Details
Par 3
162
119
187
131
75
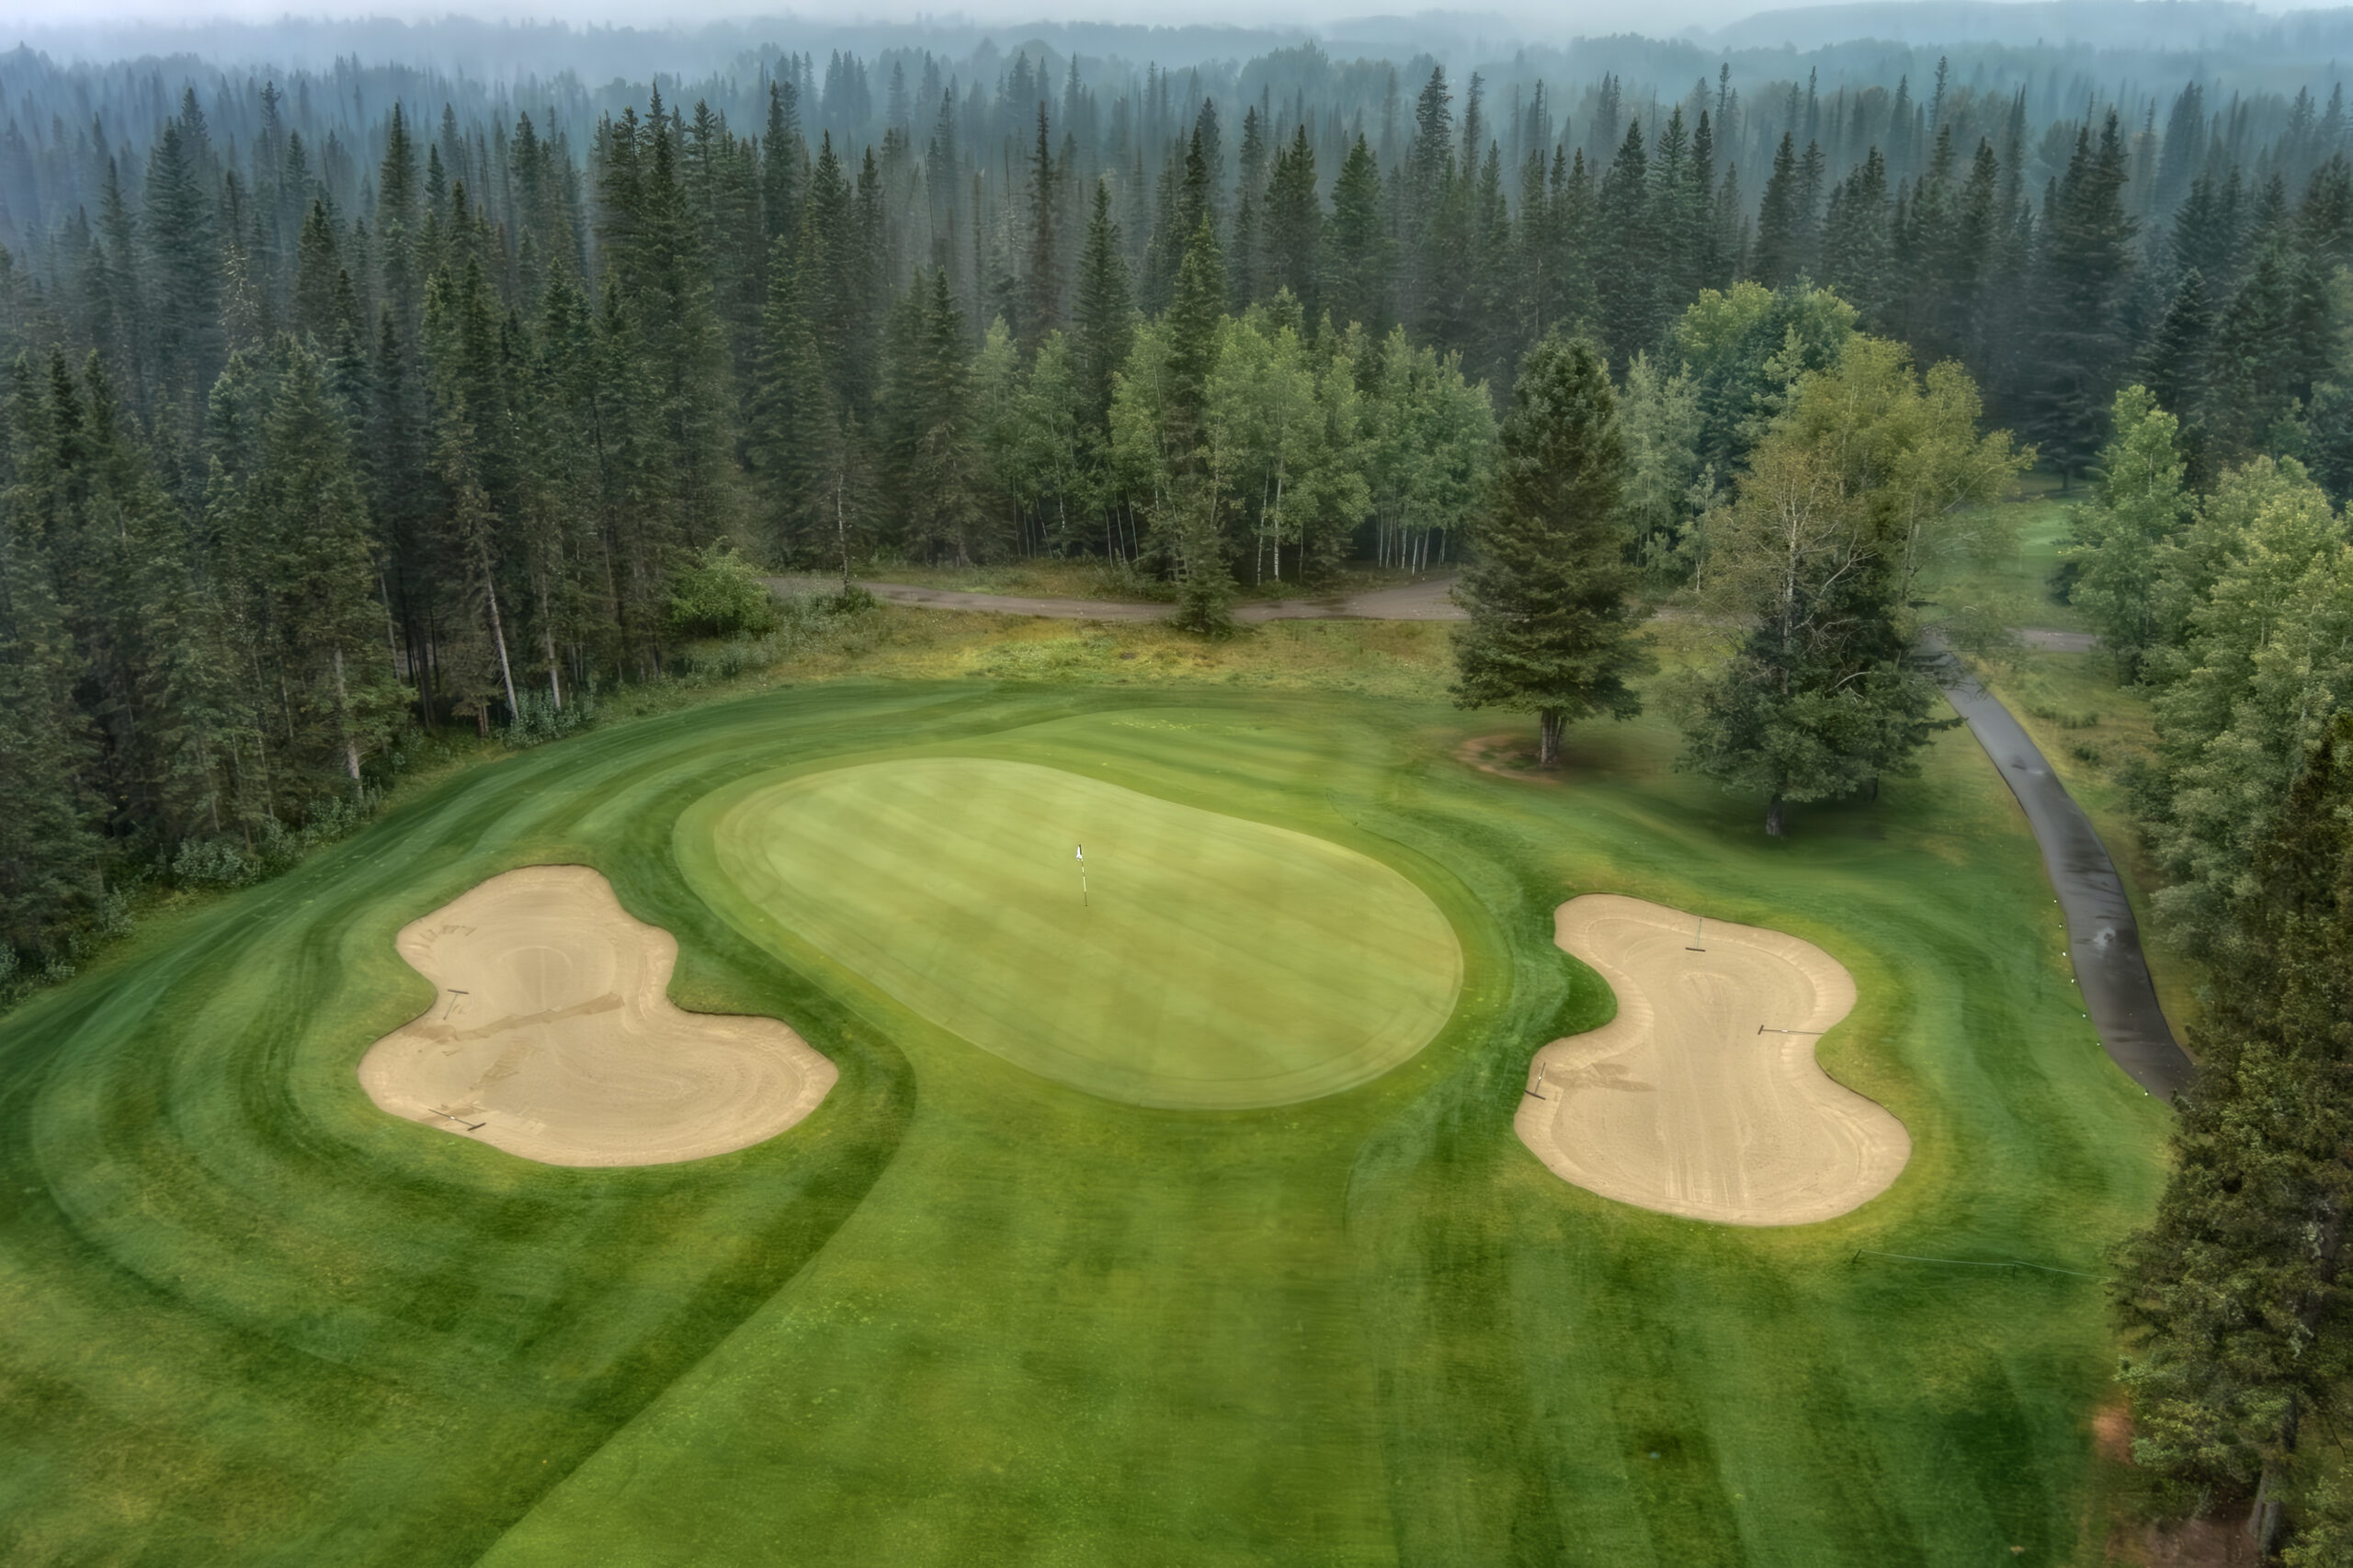
Hole 16
Players able to carry the fairway bunker will have an opportunity to score on this par four. Others will have to avoid in leaving a mid iron to the green. Avoid the deep bunker front and center and give yourself a chance to make par.
Details
Par 4
378
354
391
365
289

Hole 17
Bombs away! Our longest par five offers the room to reach in two if you can. The layup may be the most difficult shot on the hole as trees pinch at the 150 marker. This may be your best opportunity to score on the home stretch so make it count.
Details
Par 5
557
439
614
522
405
Hole 18
There is room to cut the corner if you have the power but the rest of us will have to play to the fairway to the right of the bunkers. A demanding second shot awaits. Leave it in the right spot on or around the green to give yourself a chance at a closing par. Your post round beverage will taste that much sweeter if you can pull it off.
Details
Par 4
439
384
486
418
350

Golfers wanted.
All skill levels welcome.
Make the most out of Redwood Meadows Golf Club and join a community of golf enthusiasts.
